Updated April 2024: Stop getting error messages and slow down your system with our optimization tool. Get it now at this link
- Download and install the repair tool here.
- Let it scan your computer.
- The tool will then repair your computer.
Hard drives (SATA and NVMe) are fast becoming the standard for many users who want to place their Windows installation on them. As prices for large capacity drives are still quite high, many users have smaller capacity drives. If you have a smaller SSD or if your Windows boot partition is not so large, you need to pay attention to every gigabyte in it, otherwise the space can fill up quite quickly.
Examining the properties of the MSI and MSP files in the installation folder may show that they are associated with currently installed software. Others may come from software that you have uninstalled, or from older versions that have since been replaced. These files should no longer be needed and can be deleted. The problem is identifying them, as it is not a good idea to simply delete an MSI or MSP file, as this may be necessary to upgrade, fix, or uninstall existing applications.
What is the Windows Installer Folder?
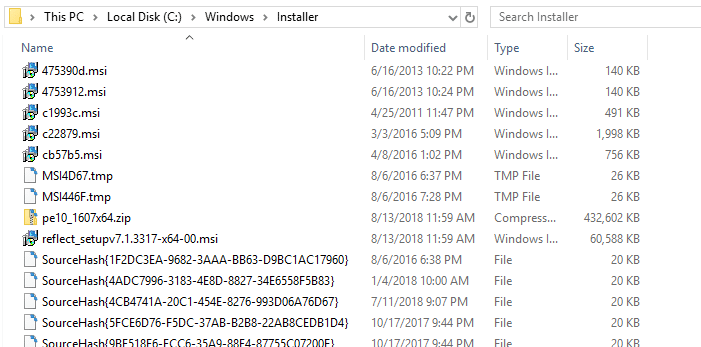
The “Installer” folder is intended to serve as a cache for the installation data files of various applications installed on your computer.
At some point, you may decide to repair, uninstall or reinstall it using Applications & Features or Programs & Features in the Control Panel. At that time, the system will need the .msi package in the Install folder to properly repair, reinstall or uninstall the software.
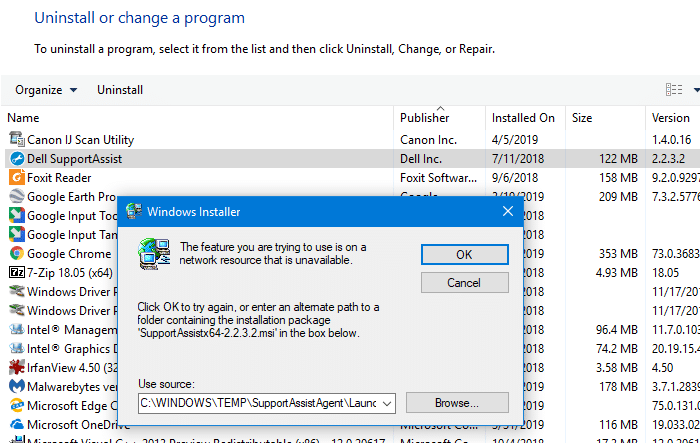
If the appropriate configuration file (.msi or .msp) is not found, Windows will display the error “The installation source for this product is not available. Make sure the source exists and that you can access it” when you try to repair or uninstall the problem.
April 2024 Update:
You can now prevent PC problems by using this tool, such as protecting you against file loss and malware. Additionally it is a great way to optimize your computer for maximum performance. The program fixes common errors that might occur on Windows systems with ease - no need for hours of troubleshooting when you have the perfect solution at your fingertips:
- Step 1 : Download PC Repair & Optimizer Tool (Windows 10, 8, 7, XP, Vista – Microsoft Gold Certified).
- Step 2 : Click “Start Scan” to find Windows registry issues that could be causing PC problems.
- Step 3 : Click “Repair All” to fix all issues.

Clean up Unused MSI and MSP files in the Windows Installer Folder
Manually Removing Patch Files from Windows Installer Folder
- First, turn on your Windows 10 computer.
- Log in with an administrator account – otherwise you cannot remove the patch files from the installer.
- In the main Windows window, click on the search box next to the Windows start icon (the same place you access Cortana from).
- Type cmd in the search field and press Enter.
- A command prompt window should now appear on your computer.
- Enter: rmdir/q /s %WINDIR%Install$PatchCache$
So here are the steps to follow if you want to remove the patch files from the Windows 10 installer.
Using PatchCleaner
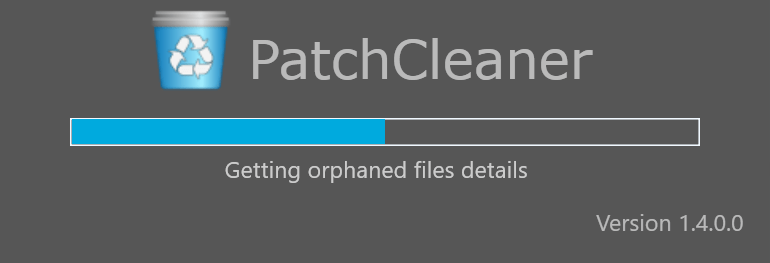
PatchCleaner identifies these redundant/orphaned files and allows you to do both :
- Move them to another location. If you want to be safe, just move them to another location and you can copy them back at any time.
- Delete them.
HomeDev has many questions about how PatchCleaner works and whether you can count on it to do the right thing.
It’s quite simple. The Windows operating system contains a list of current installers and patches accessible via WMI (Windows Management Instrumentation) calls.
PatchCleaner retrieves this list of known msi/msp files and compares it with all msi/msp files found in the “c:\Windows\Installer” directory. Anything in the folder, but not in the list of windows provided, is considered an orphaned file and marked for moving or deleting.
HomeDev cannot guarantee that PatchCleaner will not find false alarms and will remove a required patch. This is why we added the filtering function to filter and recommend using the move function so that you can always copy patches if necessary. Please refer to the list of known problems at the bottom of the page.
Using the PowerShell WInstCleaner.ps1 Script
With the PowerShell WInstCleaner.ps1 script, you can manually intervene in the C:\Windows\Install folder and determine which files are orphaned and need to be securely deleted. Since the patch files that are still registered have a corresponding entry in the registry, those that are missing are no longer needed.
The PowerShell script tells you which files you should NOT remove from the Windows Installer folder because these are the files that are still in use; files that are not in the list can be safely removed.
WInstCleaner.ps1 is available here to be downloaded from microsoft.com
Conclusion
If you are using a free space analysis software on Windows 10 to determine what is taking up excessive space on your disk, the C:\Windsows\Installer folder may be part of it. If you check the folder, you will most likely find many MSI and MSP files in it that can consume gigabytes of disk space.
Expert Tip: This repair tool scans the repositories and replaces corrupt or missing files if none of these methods have worked. It works well in most cases where the problem is due to system corruption. This tool will also optimize your system to maximize performance. It can be downloaded by Clicking Here

CCNA, Web Developer, PC Troubleshooter
I am a computer enthusiast and a practicing IT Professional. I have years of experience behind me in computer programming, hardware troubleshooting and repair. I specialise in Web Development and Database Design. I also have a CCNA certification for Network Design and Troubleshooting.