Updated April 2024: Stop getting error messages and slow down your system with our optimization tool. Get it now at this link
- Download and install the repair tool here.
- Let it scan your computer.
- The tool will then repair your computer.
Valve Corporation announced SteamVR in 2015, the ideal 360° virtual reality tool for your VR content on Microsoft Windows. SteamVR supports Valve Index, Oculus Rift, HTC Vive, Windows Mixed Reality headsets and more. SteamVR tools.

The SteamVR tool now works with multiple VR headsets, as mentioned above, such as Oculus Rift, Valve Index, HTC Vive, Windows Mixed Reality headsets, and more. Here the problem mainly arises with the Oculus Rift VR headset. Meanwhile, it is also reported that this particular error code appears in all versions of the Windows operating system from Windows 7 to Windows 10.
So if you have a similar problem with your SteamVR tool and Oculus Rift VR headset, don’t worry. Here are some troubleshooting steps to easily resolve the problem. Now, without wasting any more time, let’s go to the manual below.
Reboot the computer
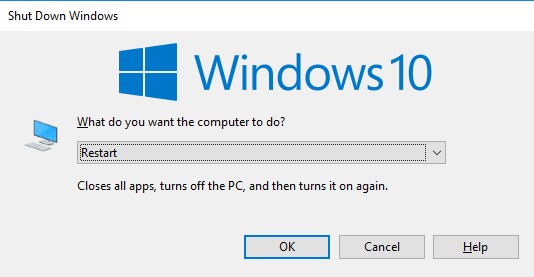
If you have never tried it before, do a simple restart and see if it will solve the problem. Many affected users have confirmed that a simple restart finally allows them to use Occulus with SteamVR tools without encountering bug 1114.
This is effective in situations where the SteamVR Tools update has just finished. Sometimes, when you install an update that actually requires you to reboot your system to complete the process, the installer will not work.
After restarting, wait until the next boot is complete, then repeat the action that previously caused bug 1114 and see if the problem is solved.
April 2024 Update:
You can now prevent PC problems by using this tool, such as protecting you against file loss and malware. Additionally it is a great way to optimize your computer for maximum performance. The program fixes common errors that might occur on Windows systems with ease - no need for hours of troubleshooting when you have the perfect solution at your fingertips:
- Step 1 : Download PC Repair & Optimizer Tool (Windows 10, 8, 7, XP, Vista – Microsoft Gold Certified).
- Step 2 : Click “Start Scan” to find Windows registry issues that could be causing PC problems.
- Step 3 : Click “Repair All” to fix all issues.

Configure the Switchable Dynamic Graphics Setting in Windows 10

AMD Switchable Graphics technology uses a discrete graphics adapter for 3D graphics and a built-in graphics adapter to save the laptop battery.
Optimus is the equivalent of NVIDIA Switchable Dynamic Graphics for notebooks with NVIDIA GPUs.
The best solution for error 1114 is usually to set the maximum global switchable dynamic graphics settings. This is a great way to configure the Dynamic Graphics Switching option in Windows 10.
- Press the Win + X key combination to open the Win + X menu in Windows 10.
- Click Power Options to open the Options window.
- Click Advanced Power Settings to open the Control Panel settings.
- Click Change Plan Options to open additional display options.
- Then click Change Advanced Power Options to open a separate Power Options window.
- Click Switchable Dynamic Graphics and expand Global Options.
- From the One Battery drop-down menu, select Maximize Performance.
- From the Insert drop-down menu, select Maximize Performance.
- Click the Apply and OK buttons to save your newly selected settings.
If you have additional problems running the Oculus patch, remove it and then reinstall the Oculus application:

To uninstall Oculus software first:
- Click on the Windows key.
- Enter “software” and select “software”.
- Find the Oculus application under “Software” and click “Uninstall”.
- When Windows asks if you are sure you want to start this process, click Yes.
- Once the Oculus application boots up, click Uninstall in the Oculus application and wait until the uninstallation is complete.
- After uninstalling the software, go to / ProgramFiles / Oculus on your computer and manually delete the Oculus folder.
- Reboot your computer.
After restarting your computer, reinstall the Oculus program:
- Go to https://www.oculus.com/setup.
- Click Download Oculus software to download OculusSetup.exe.
- Open OculusSetup.exe and follow the on-screen instructions to install the latest version of Oculus.
Expert Tip: This repair tool scans the repositories and replaces corrupt or missing files if none of these methods have worked. It works well in most cases where the problem is due to system corruption. This tool will also optimize your system to maximize performance. It can be downloaded by Clicking Here

CCNA, Web Developer, PC Troubleshooter
I am a computer enthusiast and a practicing IT Professional. I have years of experience behind me in computer programming, hardware troubleshooting and repair. I specialise in Web Development and Database Design. I also have a CCNA certification for Network Design and Troubleshooting.