Updated April 2024: Stop getting error messages and slow down your system with our optimization tool. Get it now at this link
- Download and install the repair tool here.
- Let it scan your computer.
- The tool will then repair your computer.
Some windows seem to have a recurring problem where the VPN connection (established by the integrated installation) cannot be restored after disconnecting the connection. However, the connection is successful if the user restarts the system. The problem occurs mainly under Windows 10 with PPTP connection. In most cases, the error’Can’t connect to xxxxxxxx’ appears.

A Virtual Private Network (VPN) is an essential online tool to increase your privacy and security on the Internet. However, VPN problems can lead to a loss of VPN connections and error messages. Fortunately, there are a number of patches that you can try.
VPNs have certainly become much more user-friendly since their creation, so you can generally enter the open and unrestricted world of the Internet directly.
Disable / reactivate the connection
Another temporary fix that is confirmed so that some users can reconnect to the built-in Windows VPN without having to restart each time is to disable and then enable the VPN connection via the Network and Sharing Center.
April 2024 Update:
You can now prevent PC problems by using this tool, such as protecting you against file loss and malware. Additionally it is a great way to optimize your computer for maximum performance. The program fixes common errors that might occur on Windows systems with ease - no need for hours of troubleshooting when you have the perfect solution at your fingertips:
- Step 1 : Download PC Repair & Optimizer Tool (Windows 10, 8, 7, XP, Vista – Microsoft Gold Certified).
- Step 2 : Click “Start Scan” to find Windows registry issues that could be causing PC problems.
- Step 3 : Click “Repair All” to fix all issues.

It is still a temporary solution that does not address the underlying cause of the problem, but it is always better than having to restart each time. Here is a brief guide to disable and restart the VPN connection from the Network Connections menu:
- Press Windows + R to open a Run dialog box. Then type “ncpa.cpl” in the text box and press Enter to open the Network Connections tab.
- If you are in the Network Connection menu, right-click the network associated with the integrated
- VPN network and click Disable in the context menu. When prompted in the User Account Control (UAC) window, click Yes to allow administrator access.
- Wait until the network changes its status to Disabled, then right-click again and select Enable to enable it again.
- Log in to your integrated Windows VPN and see if the problem is solved.
Remove your device from the old VPN software.
We know what it is – you want to make sure you have chosen the right VPN software, so you may have downloaded several packages to try. If you are looking for the best for the first time, read our 2019 Best VPN Services Guide, but if you have already tested a handful of them, they can prevent your newly selected software from working properly.
Try to disable or even uninstall all the VPN software you have used previously, and see if this solves your problem.
Disable local security software
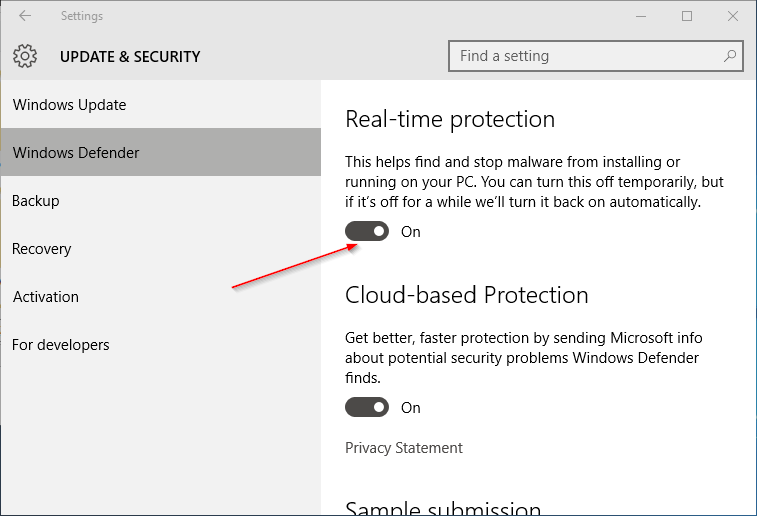
Again, this is not something we recommend lightly, and if you can avoid it, you should do it. However, if your antivirus program checks all the outgoing packets you send, it may slow down your connection. Temporarily disable it to see if it speeds up your connection.
Restart your device and restart the VPN.
After restarting the application, try connecting to another location on the server. If you can connect to another location, try to reconnect to the original location. If you have a problem, there may be a problem with the original location to which you have connected.
CONCLUSION
A common error is to configure the access server to a private IP address, but not to configure a correct FQDN DNS name and to configure this FQDN DNS name in the Admin interface under Server Network Settings in the Host Name or IP Address field. It is this field value that connection profiles generated and provided for OpenVPN clients use to start a connection. Thus, if the internal private IP address on which the access server has been installed is defined, the connection profiles will attempt to connect to this private IP address, which will probably only be accessible from the internal network where the access server itself is located. The solution is to configure a correct DNS name, configure it and save the settings. Then uninstall, re-download and reinstall the connection profile or the OpenVPN Connect Client program and try again.
http://forums.dlink.com/index.php?topic=51239.0
Expert Tip: This repair tool scans the repositories and replaces corrupt or missing files if none of these methods have worked. It works well in most cases where the problem is due to system corruption. This tool will also optimize your system to maximize performance. It can be downloaded by Clicking Here

CCNA, Web Developer, PC Troubleshooter
I am a computer enthusiast and a practicing IT Professional. I have years of experience behind me in computer programming, hardware troubleshooting and repair. I specialise in Web Development and Database Design. I also have a CCNA certification for Network Design and Troubleshooting.