Updated April 2024: Stop getting error messages and slow down your system with our optimization tool. Get it now at this link
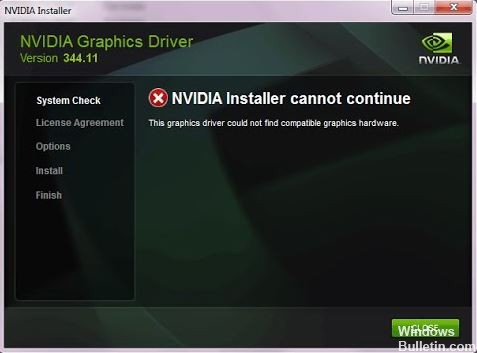
Do you get the “NVIDIA Installer Cannot Continue” error when installing NVIDIA drivers? Don’t worry, you’re in the right place. Here are some simple solutions to the problem when the NVIDIA installer fails to continue on Windows 10.
When trying to install the latest NVIDIA graphics card, many users report that the NVIDIA driver installation cannot continue. This is a really discouraging error message, but you don’t have to worry about it because by the end of this article, you will be able to troubleshoot the NVIDIA Installer and not be able to continue with Windows 7.
What is the cause of the “NVIDIA Installer cannot continue” error?

- Missing Files
- Windows computer error
- Not compatible with your version of Windows
- The NVIDIA Geforce installer cannot continue
- The graphics driver could not find compatible hardware
How to fix the “NVIDIA installer cannot proceed” error message?
You can now prevent PC problems by using this tool, such as protecting you against file loss and malware. Additionally it is a great way to optimize your computer for maximum performance.
The program fixes common errors that might occur on Windows systems with ease - no need for hours of troubleshooting when you have the perfect solution at your fingertips:
April 2024 Update:

Update your NVIDIA graphics card driver manually
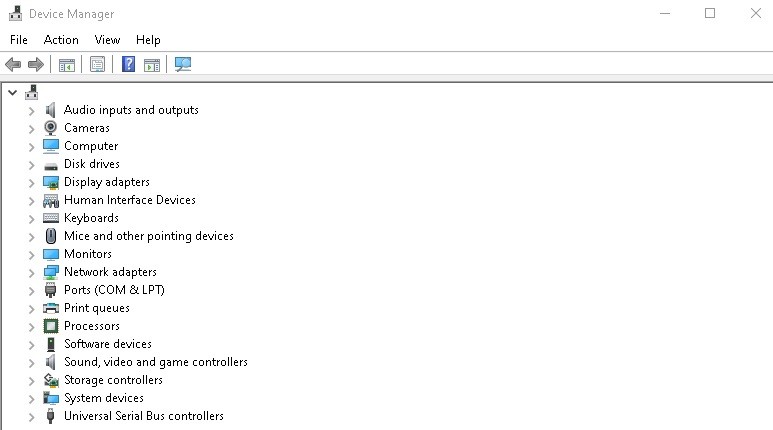
- Press Windows + X on your keyboard, a list will appear. On this list, double-click on the Device Manager option.
- In Device Manager, click on the Display Adapters option to expand it.
- Now right-click on the NVIDIA Graphics Card option in the expanded list and click on Update Driver.
- In the Update Drivers window that appears, click on the Find drivers on your computer option.
- You now can find and download the NVIDIA driver to your computer.
- Select the driver you just downloaded from the NVIDIA driver website.
- Click Next and follow the instructions on the screen to complete the NVIDIA driver installation.
- Restart your computer and try installing the NVIDIA graphics card on your PC.
Disable antivirus
- Open the Start menu and type Taskmgr. In the search results, click on the “Task Manager” option.
- Click on the “Processes” tab and find the services running your antivirus program.
- Select the service and click the “End Process” button.
- If you have several antivirus or malware programs installed on your computer, repeat the procedure for all programs.
- Restart your computer. Try installing the NVIDIA graphics card again.
Stop all NVIDIA processes
- Open the Start menu and enter taskmgr in the Start menu search box.
- Click on Task Manager, which will appear in the search results.
- In the Processes tab, look for NVIDIA processes.
- Once you find them, right-click on each process and then select End Task. This will stop all running NVIDIA processes.
- Now try running the graphics card installation again and see if an error occurs.
Activate the NVIDIA graphics card
- Press the Windows + X keys. In the menu that appears, locate Device Manager and click it.
- In the open Device Manager window, locate the display adapter; click it to expand it.
- In the expanded list, find the NVIDIA graphics card driver.
- Right-click it and check whether the Enable option is available in the right-click menu.
- If so, it means that the NVIDIA graphics driver is disabled. Click the Enable button.
- Reboot your computer.
- Try to install the NVIDIA graphics card and check if the “NVIDIA installer cannot continue” problem persists in Windows 10.
Expert Tip: This repair tool scans the repositories and replaces corrupt or missing files if none of these methods have worked. It works well in most cases where the problem is due to system corruption. This tool will also optimize your system to maximize performance. It can be downloaded by Clicking Here
Frequently Asked Questions
Why can’t I update the NVIDIA driver in Windows 10?
Go to Settings -> Update and Security -> Windows Update and click Check for updates. Allow Windows 10 to check if NVIDIA drivers are available for download. More often than not, the update will be available for installation. Wait until this update is installed with the others.
How do I manually install NVIDIA drivers in Windows 10?
- Run the NVIDIA Graphics Driver Installer. The graphics driver installer will appear.
- Follow the installer instructions until the last screen. Do not restart.
- If you're prompted, select No, I'll restart my computer later.
- Click Finish.
Why can’t the NVIDIA Installer continue?
Open Device Manager by pressing the Windows key on your keyboard, type Device Manager, and open the result. Uninstall the Nvidia graphics driver. Expand Display Adapters and select the NVIDIA graphics driver. Open Device Manager again, right-click on the Nvidia driver, and select Update Driver Software.
