Updated April 2024: Stop getting error messages and slow down your system with our optimization tool. Get it now at this link
If you keep getting the “USB device not recognized” error message, which indicates that the last USB device connected to your computer is faulty and not recognized by Windows, don’t panic. You are certainly not alone! Many Windows users, and even those with brand new PCs, report encountering this annoying problem when trying to connect an external USB device or Android device to a Windows 10 PC.
But the good news is that you can easily fix this problem and get your affected USB device back up and running. Check out our detailed guide on how to fix the “Last USB device connected to this computer no longer works” error on a Windows 10 PC.
What causes the “Last USB device connected to this computer is no longer working” error message on Windows 10?
- Controller error.
- Faulty connections.
- Outdated controllers.
- Faulty or missing connections.
How can I fix the error message “The last USB device connected to this computer is not working” in Windows 10?
You can now prevent PC problems by using this tool, such as protecting you against file loss and malware. Additionally it is a great way to optimize your computer for maximum performance.
The program fixes common errors that might occur on Windows systems with ease - no need for hours of troubleshooting when you have the perfect solution at your fingertips:
April 2024 Update:

Uninstall the drivers
- Press the Windows key and the “X” key at the same time.
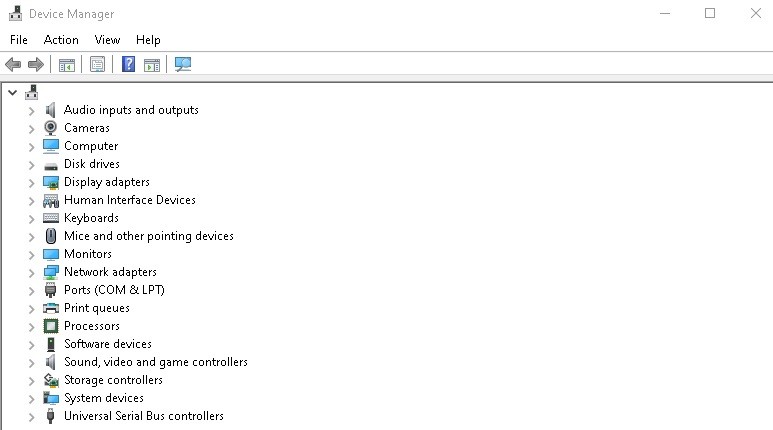
- Then click on “Device Manager.”
- In the “Device Manager” utility window, find the “Universal Serial Bus Controller” option and click on it to
- display the available drivers.
- You will see a driver with a yellow triangle icon in the driver list.
- Right-click on the driver and select “Uninstall Device”.
- If a warning message appears, simply click “Uninstall”.
Updating the universal USB hub
- Press the Windows key and the “X” key at the same time.
- Then click on “Device Manager”.
- Now click on the universal serial bus controllers to expand it.
- Now right-click on Generic USB Hub and click on Update Driver.
- Click on Search for drivers on your computer.
- Click on “Let me choose from the list…”.
- Select Generic USB Hub from the list and click Next.
Disconnect the AC adapter and reconnect the USB Hub
- Turn off the computer.
- Unplug the power supply from the computer.
- Now try turning on the computer using the power switch.
- Now plug the USB device into the USB port.
- After connecting the USB device to the system, plug the power adapter into the computer.
- Start the computer.
Expert Tip: This repair tool scans the repositories and replaces corrupt or missing files if none of these methods have worked. It works well in most cases where the problem is due to system corruption. This tool will also optimize your system to maximize performance. It can be downloaded by Clicking Here
Frequently Asked Questions
How do I correct the “The last USB device you plugged into this computer did not work” error message?
- Reconnect the USB device.
- Try using a different USB port.
- Disable the USB settings for the selective shutdown.
- Follow the hardware device troubleshooting procedure.
- Remove the AC adapter.
- Uninstall and reinstall the USB device drivers.
- Update the USB devices.
How do I get rid of the USB malfunction?
- Select Start and type Device Manager in the search box.
- In the list that appears, select Device Manager.
- Select Drives in the Hardware list.
- Click and hold (or right-click) on the problem external USB hard drive and select Uninstall.
- After removing the hard drive, disconnect the USB cable.
- Wait a minute and then reconnect the USB cable. The driver should boot automatically.
- Find the USB drive in Windows Explorer.
Why did my USB device stop working?
The exact cause of this problem varies between different combinations of computer environments. It may be caused by faulty USB ports, bugs in the USB controllers, or outdated, missing or defective USB ports.
