Updated April 2024: Stop getting error messages and slow down your system with our optimization tool. Get it now at this link
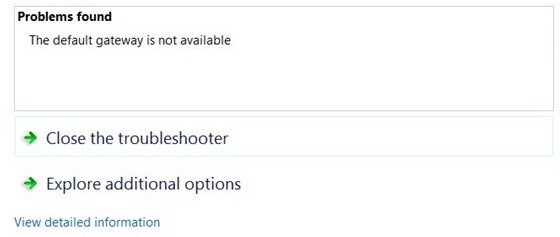
Are you trying to browse the Internet on your computer, but the Internet is not available? If you are getting the error message “Default Gateway is not available”, this article will help you to solve the problem. This is a very common problem faced by Windows 10 users all over the world. To solve the “Default Gateway Not Available” error, you can try different solutions. Sometimes a simple action like running a simple command can help, but you may also need to make several changes to your computer. It all depends on exactly which variable is causing the problem.
Finding the true cause of the problem is always difficult. Therefore, you should try several solutions and see which one will work for you to solve your default gateway problem.
What causes the “the default gateway is not available” problem?

- In many cases, the “Default Gateway Not Available” problem is caused by McAfee security software.
- You have a faulty network adapter driver, your network connection is probably not working properly.
- You’ve installed the wrong driver, so you’re likely to have network connectivity problems as well.
How do I fix the “The Default Gateway is Not Available” issue?
You can now prevent PC problems by using this tool, such as protecting you against file loss and malware. Additionally it is a great way to optimize your computer for maximum performance.
The program fixes common errors that might occur on Windows systems with ease - no need for hours of troubleshooting when you have the perfect solution at your fingertips:
April 2024 Update:

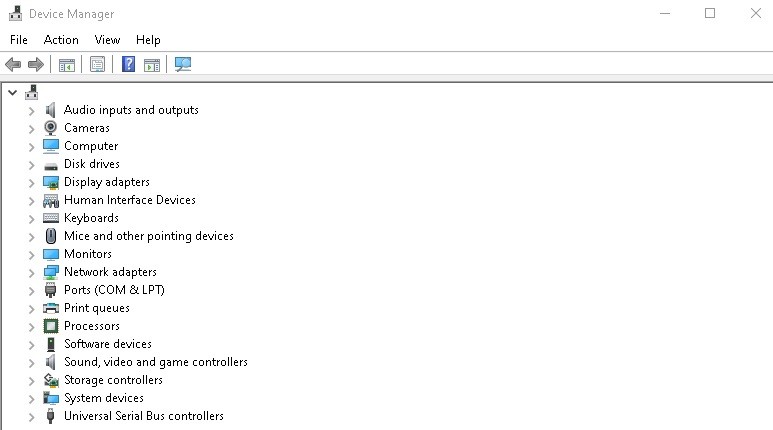
Reinstall a compatible network driver
- In Device Manager, right-click the network driver to update the driver.
- Select Search for driver software on my computer.
- Select from the list of available drivers on my computer.
- Select the Show compatible hardware checkbox, and then select a driver from the list.
- Then click Yes to install this driver.
Uninstalling third-party software
- Open the Control Panel.
- In the Control Panel, locate the Uninstall a program entry under Programs.
- In the Programs and Features window, find the application you want to uninstall and right-click it to uninstall it.
- Try restarting Windows 10 after uninstalling third-party software from your computer for it to take effect.
Changing the advanced power scheduling settings for your network adapter
- In the search box, search for Power and Standby Settings and press Enter to continue.
- In the window that opens, click Advanced Power Settings under Related Settings.
- Then select Change power-saving settings next to the power plan set for your PC.
- Then click Change Advanced Power Options in the middle of the Change Plan Options section.
- In the Power Settings window, select Wireless Adapter Settings and set the On Battery and On Power settings to the maximum power.
- When finished, click Apply and OK to save your changes.
Manual Default Gateway Assignment
- Go to Settings > Internet and Network > Ethernet (WIFI) > Change Adapter Settings.
- Right-click the network you want to connect to open its properties.
- Scroll down in the Properties window and double-click Internet Protocol version 4 (TCP/IPv4).
- Then select the Use the following IP address option. Here you must enter the IP address, subnet mask, and default gateway.
- Click OK to save the changes.
Resetting the network IP address
- Type Command Prompt in the search box, then right-click the best result and select Run as administrator.
- At the command prompt, type netsh int ip reset, then press Enter to reset the network IP address in Windows 10.
- After resetting the WIFI IP address, you can start investigating network problems on your PC.
Expert Tip: This repair tool scans the repositories and replaces corrupt or missing files if none of these methods have worked. It works well in most cases where the problem is due to system corruption. This tool will also optimize your system to maximize performance. It can be downloaded by Clicking Here
Frequently Asked Questions
How do I fix the “the default gateway is not available” error?
The "the default gateway is not available" error may be caused by outdated network drivers. The best way to solve the problem is to update the drivers. You can let Windows 10 find and install the drivers for you or download the driver file if you've already downloaded the drivers.
How do I manually assign a default gateway?
- Go to Settings -> Internet and Network -> Ethernet (WIFI) -> Change Card Settings.
- Right-click on the network you want to connect to open its properties.
- Scroll down in the Properties window and double-click Internet Protocol version 4 (TCP/IPv4).
- Then select the Use the following IP address option. Here you must enter the IP address, subnet mask, and default gateway.
- Click OK to save your changes.
Why do I get the “the default gateway is not available” message?
In many cases, the "Default Gateway not available" problem is due to the McAfee security program. It is also possible that you have a faulty network card driver, so the network connection is not working properly.
