Updated April 2024: Stop getting error messages and slow down your system with our optimization tool. Get it now at this link
- Download and install the repair tool here.
- Let it scan your computer.
- The tool will then repair your computer.
Working together in telework can be difficult, especially when you are working with documents. Find out how to share documents on screen in Zoom.
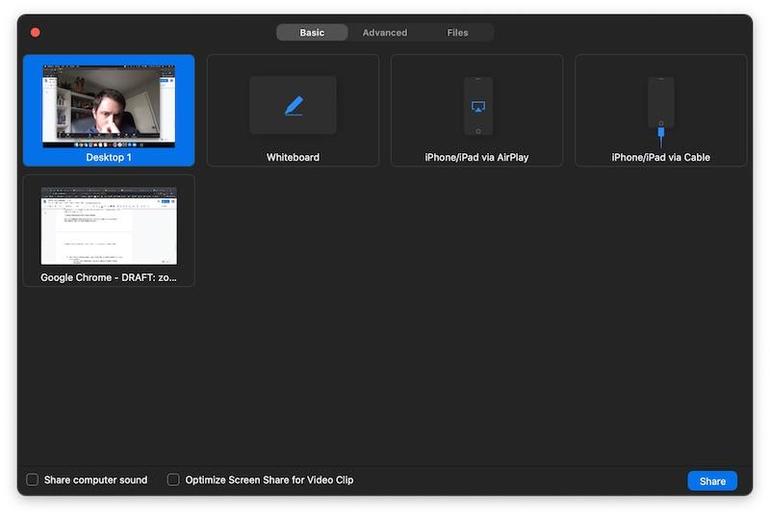
Whether you want to share a document, presentation, video or image, Zoom has the features you need, but don’t make the process more complicated than necessary – follow the steps in this tutorial.
How to Enable Zoom In-Meeting File Transfer
For your account
To enable file transfer during the meeting for all members of your organization
April 2024 Update:
You can now prevent PC problems by using this tool, such as protecting you against file loss and malware. Additionally it is a great way to optimize your computer for maximum performance. The program fixes common errors that might occur on Windows systems with ease - no need for hours of troubleshooting when you have the perfect solution at your fingertips:
- Step 1 : Download PC Repair & Optimizer Tool (Windows 10, 8, 7, XP, Vista – Microsoft Gold Certified).
- Step 2 : Click “Start Scan” to find Windows registry issues that could be causing PC problems.
- Step 3 : Click “Repair All” to fix all issues.

- Log in to the Zoom web portal as an administrator with permission to change account settings.
- Click Account Management > Account Settings.
- On the Meeting tab, navigate to File Transfer and verify that the setting is enabled.
- If the setting is disabled, click the status toggle button to enable it. If a verification dialog box appears, select Enable to verify the change.
If you want to make this setting mandatory for all users in your account, click the padlock icon and then click the “Lock” button to confirm the setting.
For a group
To enable file transfer during a meeting for all members of a specific group
- Log in to the Zoom web portal as an administrator with permission to edit groups.
- Click User Management > Group Management.
- Click the group name, and then click the Settings tab.
- On the Settings tab, navigate to the File Transfer option and verify that the setting is enabled.
- If the setting is disabled, click the status toggle button to enable it. If a verification dialog box appears, select Enable to verify the change.
- Note: If the option is grayed out, it has been locked at the account level and needs to be changed at that level.
- (Optional) If you want to make this setting mandatory for all users in this group, click the padlock icon and then click the “Lock” button to confirm the setting.
How to Use the Zoom In-Meeting File Transfer
- Click Chat during a Zoom meeting.
- Select More and select the Share file in the meeting option to send a file.
- The following message appears when the file has been sent successfully.
- Participants are notified when a file is sent and given the option to download the file. Once download is selected, they can view the file.
Conclusion
The ability to show a file to someone is convenient and essential, especially if it is a work-related file. Fortunately, Zoom allows you to easily show someone your files from different sources. How important is file sharing to you? Let me know in the comments below.
https://support.zoom.us/hc/en-us/articles/209605493-In-Meeting-File-Transfer
Expert Tip: This repair tool scans the repositories and replaces corrupt or missing files if none of these methods have worked. It works well in most cases where the problem is due to system corruption. This tool will also optimize your system to maximize performance. It can be downloaded by Clicking Here

CCNA, Web Developer, PC Troubleshooter
I am a computer enthusiast and a practicing IT Professional. I have years of experience behind me in computer programming, hardware troubleshooting and repair. I specialise in Web Development and Database Design. I also have a CCNA certification for Network Design and Troubleshooting.