Updated April 2024: Stop getting error messages and slow down your system with our optimization tool. Get it now at this link
- Download and install the repair tool here.
- Let it scan your computer.
- The tool will then repair your computer.
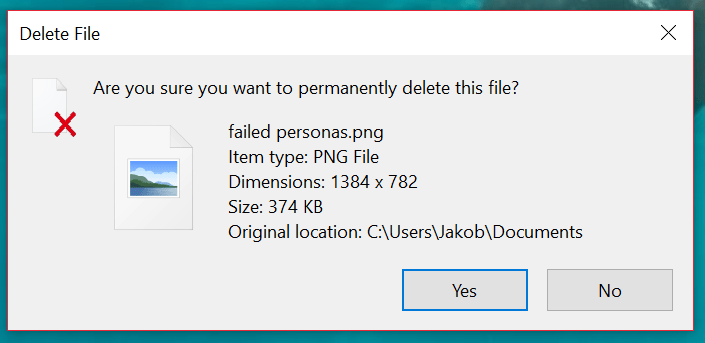
When you delete a single file or folder, the Delete Confirmation dialog box displays basic information (metadata), such as the file or folder name, creation date, file type and modification date, but it differs depending on the file type.
Accessory: this value defines a unique property or metadata in the Windows property system that can be set for files/folders. You can configure the prop: value in the Deletion Confirmation dialog so that all necessary file and folder data is displayed on the command line. The details you have set to display on the command line will only be displayed if the property or metadata for the deleted file or folder is available.
In this tutorial, you will learn how to configure the Delete Confirmation dialog box to display all of the file and folder details that you want to see on the command line for all Windows 10 users.
Show the Full Details in Delete File Confirmation Dialog Box in Windows 10
To display the full details of a folder in the Confirm Delete Folder dialog in Windows 10:
April 2024 Update:
You can now prevent PC problems by using this tool, such as protecting you against file loss and malware. Additionally it is a great way to optimize your computer for maximum performance. The program fixes common errors that might occur on Windows systems with ease - no need for hours of troubleshooting when you have the perfect solution at your fingertips:
- Step 1 : Download PC Repair & Optimizer Tool (Windows 10, 8, 7, XP, Vista – Microsoft Gold Certified).
- Step 2 : Click “Start Scan” to find Windows registry issues that could be causing PC problems.
- Step 3 : Click “Repair All” to fix all issues.

- Click Win+R to open the Run command line.
- Type regedit in the Run command line and press Enter.
- In the UAC prompt window, click the Yes button.
- Go to AllFilesystemObjects in HKEY_CLASSES_ROOT.
- Computer\HKEY_CLASSES_ROOT\AllFilesystemObjects
- Right-click on all objects in the file system.
- Select New > String Value.
- Name it FileOperationPrompt.
- Double-click FileOperationPrompt.
- Set the desired values.
prop:System.PropGroup.FileSystem;System.ItemNameDisplay;System.ItemTypeText;System.ItemFolderPathDisplay;System.Size;System.DateCreated;System.DateModified;System.FileAttributes;System.OfflineAvailability;System.OfflineStatus;System.SharedWith;System.FileOwner;System.ComputerName
- Click OK to save the changes and close the registry editor.

Conclusion
Then try to delete the file. If the “Delete confirmation” checkbox is checked, the change can be found immediately.
Expert Tip: This repair tool scans the repositories and replaces corrupt or missing files if none of these methods have worked. It works well in most cases where the problem is due to system corruption. This tool will also optimize your system to maximize performance. It can be downloaded by Clicking Here

CCNA, Web Developer, PC Troubleshooter
I am a computer enthusiast and a practicing IT Professional. I have years of experience behind me in computer programming, hardware troubleshooting and repair. I specialise in Web Development and Database Design. I also have a CCNA certification for Network Design and Troubleshooting.