Updated April 2024: Stop getting error messages and slow down your system with our optimization tool. Get it now at this link

A browser plugin is usually a useful feature designed to improve the user experience. These components are often called add-ons or extensions, and many users prefer to have a large number of them installed in their browsers. Unfortunately, many Google Chrome users have found that they get a “Cannot load plugin” error message when using the browser.
Make sure to read through the reasons due to which the error occurs in the first place and follow the solutions one by one until one of them fixes the error.
What causes the “Cannot load plugin” error message in Windows 10?
- Flash plug-ins: Adobe’s Flash Player has been phased out, as have many plug-ins that require Flash content.
- Damaged cache: The browser may have accumulated a cache over time, which may have gone bad due to a memory error.
- Outdated browser: In some cases, the browser you’re using may be outdated and not support some of the latest Internet technology.
- Outdated components: Some components of your browser may not have been updated during regular updates, so some browser features may stop working.
- Bad Sectors: In some situations, bad sectors may be present on your hard drive or in your registry, causing this error message to appear.
- Incorrect installation: The browser may not be properly installed on your computer.
How do I eliminate the “Couldn’t Load Plugin” error message in Windows 10?
You can now prevent PC problems by using this tool, such as protecting you against file loss and malware. Additionally it is a great way to optimize your computer for maximum performance.
The program fixes common errors that might occur on Windows systems with ease - no need for hours of troubleshooting when you have the perfect solution at your fingertips:
April 2024 Update:

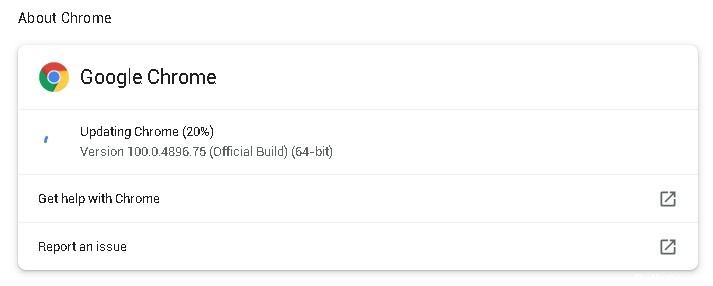
Make sure that your browser has been updated
- Open Google Chrome.
- Click on the three-dot icon in the upper right corner. Then select Help > About Google Chrome.
- Google Chrome will check for available updates and install them automatically.
- Type “chrome://components” in the address bar and press Enter.
- Then check that all installed components are up to date.
Perform an SFC scan
- Press Win + S to open the Windows search tool.
- Then locate the command line, right-click on it and select Run as administrator.
- At the command prompt, type the command sfc /scannow and press Enter.
- Once the process is complete, restart your computer.
Set the Flash settings to “Ask first”
- Type “chrome://settings/content” in the Google Chrome address bar and press Enter.
- Scroll down to find Flash and click on it. Then select “Ask first” (recommended) instead of “Block sites with Flash”.
Expert Tip: This repair tool scans the repositories and replaces corrupt or missing files if none of these methods have worked. It works well in most cases where the problem is due to system corruption. This tool will also optimize your system to maximize performance. It can be downloaded by Clicking Here
