Updated April 2024: Stop getting error messages and slow down your system with our optimization tool. Get it now at this link
- Download and install the repair tool here.
- Let it scan your computer.
- The tool will then repair your computer.
The front audio ports on your computer are not working properly? You are not alone! Many people have this problem with their front audio jacks.
It’s very boring. You cannot use your headphones or microphone on the front jacks. But don’t worry about it. It can be repaired. If you connect the speakers to the green audio connector on the back of your computer, you can hear the sound through the speakers. However, if you connect your speaker or headphones to the green audio jack on the front of your computer, no sound will be heard.
Try the rear audio jacks.
You may have hardware problems with your front audio connectors. It is therefore worth checking the audio jacks on your motherboard to see if your problems only occur on your front panel.
Try connecting your audio device to the audio connectors on the back of your computer. If your audio device is working properly, the problem is your front audio jack. You may need to seek advice from your computer manufacturer or take your computer to an authorized service provider for maintenance.
Activate the option ‘Disable plug detection on the front panel’.

- Double-click the Realtek HD Audio Manager System Tray icon.
- Click on the small folder icon (see image below).
- Make sure that the “Disable front cylinder detection” checkbox is not checked.
- Now plug the jack of a microphone or headset into the corresponding jack on the front panel of your computer.
- If you receive the message’Information: An outlet is connected’, you do not need to change this setting, as your system has an HDA-compatible front panel.
- If this message does not appear, click again on the small folder icon and check the “Disable front cylinder detection” box.
April 2024 Update:
You can now prevent PC problems by using this tool, such as protecting you against file loss and malware. Additionally it is a great way to optimize your computer for maximum performance. The program fixes common errors that might occur on Windows systems with ease - no need for hours of troubleshooting when you have the perfect solution at your fingertips:
- Step 1 : Download PC Repair & Optimizer Tool (Windows 10, 8, 7, XP, Vista – Microsoft Gold Certified).
- Step 2 : Click “Start Scan” to find Windows registry issues that could be causing PC problems.
- Step 3 : Click “Repair All” to fix all issues.

Reinstall the original audio driver.
Reinstall the original audio driver by following these steps:
Connect to the Internet.
Reinstall the audio driver using one of the following methods:
Locate and open Recovery Manager.
If you are prompted to enter an administrator password or confirmation, enter the password or enter a confirmation. When User Account Control asks you to allow the program to make changes to your computer, click Yes.
Under I need help immediately, click on Reinstall Hardware Driver.
On the New Hardware Driver Installation screen, click Next.
Select the audio driver to be reinstalled from the list of factory installed drivers, such as Realtek High Definition Audio or SoundMax ADI Audio. Then click on Next.
If the driver you want to reinstall is not in the list, select the check box next to The driver is not in the list, then click Next. Follow the instructions on the screen.
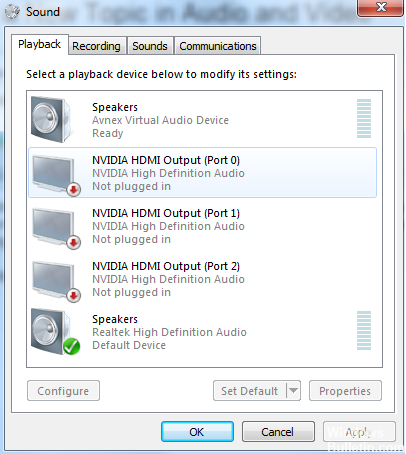
Disable other audio devices
Turn off speakers and other audio devices to temporarily activate headphones only:
You can temporarily disable other devices in the playback devices, activate only the headset and set the headset as the default device.
a. Click on Start and Control Panel.
b. Click on Hardware and Sound, then on Recording.
c. Right-click on the empty area and make sure the “Show disabled devices” box is checked. If the headphones are disabled, they will appear in the list.
d. Right-click on the device and select “Set as default communication device”. Click on OK.
https://support.hp.com/hr-en/document/c01695367
Expert Tip: This repair tool scans the repositories and replaces corrupt or missing files if none of these methods have worked. It works well in most cases where the problem is due to system corruption. This tool will also optimize your system to maximize performance. It can be downloaded by Clicking Here

CCNA, Web Developer, PC Troubleshooter
I am a computer enthusiast and a practicing IT Professional. I have years of experience behind me in computer programming, hardware troubleshooting and repair. I specialise in Web Development and Database Design. I also have a CCNA certification for Network Design and Troubleshooting.