Updated April 2024: Stop getting error messages and slow down your system with our optimization tool. Get it now at this link
Windows 10 was a big leap forward in redefining operating systems and setting new boundaries for the user experience. It took a step forward by offering users a faster, more capable, and efficient operating system without sacrificing quality. Users of previous versions of Windows could upgrade to the new version through the Windows Update Manager. The process is very simple. All you have to do is run the upgrade process and sit back while Windows does all the work.
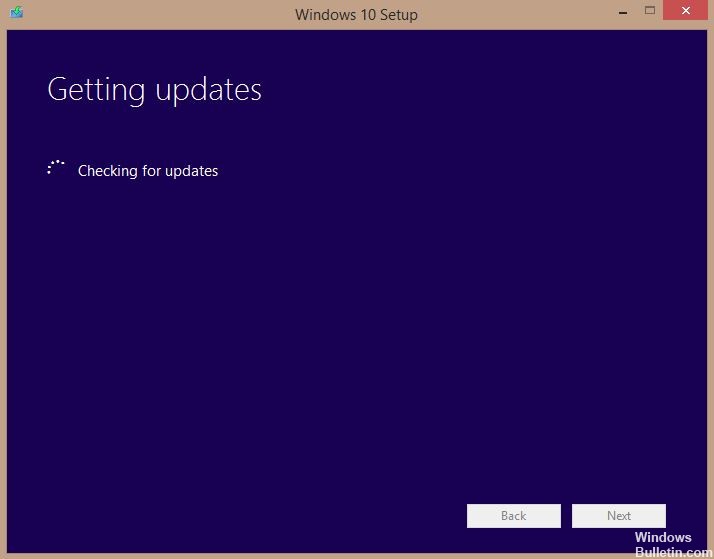
While the method has worked for almost all users, many users have reported that the Windows 7 Update Manager is stuck on “Check for Updates.” This is very strange since the notification for Windows 10 is already there so you can start downloading. We did our research and after collecting user feedback and our own experiments, we concluded that there are very few reasons why this problem can occur.
Why does Windows 10 installation fail when checking for updates?
- Your computer’s antivirus or a third-party antivirus program may be causing your Windows 10 installation to freeze when checking for updates. To see if this is the cause, try temporarily disabling the antivirus program.
- In some cases, incorrect dates and times can cause problems updating and setting up your computer. Make sure that the date and time on your computer are set correctly to avoid this problem.
- Sometimes the Windows installer fails to check for updates if your Internet connection is slow or unstable. This could be caused by a problem with the wireless driver, or the operating system you are using may not accept the new update configuration when using the wireless connection.
- When upgrading to Windows 10, the update check may freeze due to insufficient or low disk space on your computer and the installation process may not continue. Check the hard disk space on your computer to make sure that you have enough space to download and configure Windows 10.
How to resolve Windows 10 installation gets stuck when checking for updates?
You can now prevent PC problems by using this tool, such as protecting you against file loss and malware. Additionally it is a great way to optimize your computer for maximum performance.
The program fixes common errors that might occur on Windows systems with ease - no need for hours of troubleshooting when you have the perfect solution at your fingertips:
April 2024 Update:

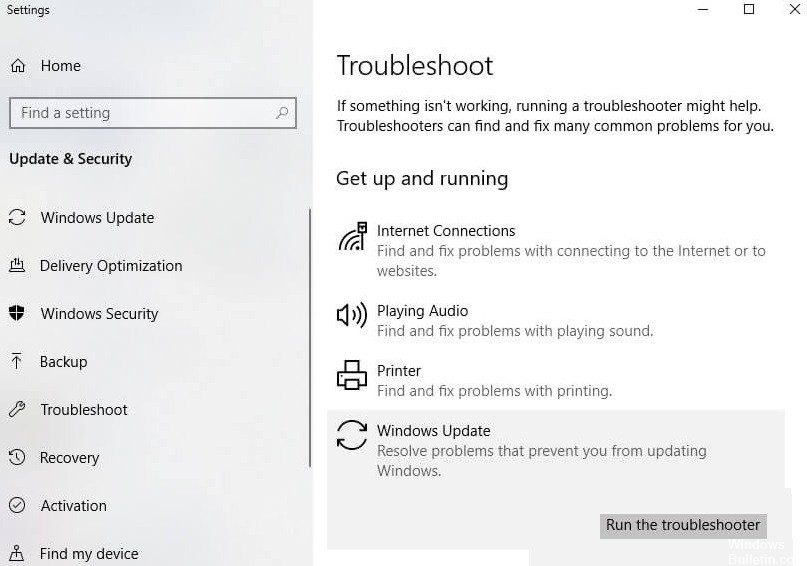
Launch the Windows Update troubleshooter
- Click the Start button or the Windows logo in the lower-left corner.
- Click the Settings button (the gear-like icon) to open the Windows Settings panel.
- Click the Update and Security tab
- In the left pane, click Troubleshooting.
- In the right pane, click Advanced Troubleshooting.
- Click Windows Update under Start and Run.
- Click Run Troubleshooter. A new window opens and Windows detects problems.
- When the process is complete and no problems are found, click Close and exit the Settings section.
- If the problem is found, suggested solutions for fixing it will be shown.
Checking the date and time
- Right-click the clock at the bottom right of the taskbar.
- Click Set Date and Time.
- Under Date and time, make sure the Set time automatically option is enabled. If it is not, turn this option on.
- Click Synchronize Now under the Synchronize Clock option.
Temporarily disable the antivirus software
- Click the Start button or the Windows logo in the lower-left corner of the window.
- Click on Settings – the icon that looks like a gear wheel. The Windows Settings section opens.
- In the Windows Settings section, click on Update and Security.
- Click on Windows Security, which is located in the left pane.
- In the Security section, click on Virus and Threat Protection.
- In the new window, click Manage Settings under Virus and Threat Protection Options.
- Then disable real-time protection.
- Restart your computer.
Check the memory
- Press the Windows + E key on your keyboard to open File Explorer.
- Click on This computer.
- The Devices and Disks section displays all connected devices and disks.
- Right-click on the hard drive and choose Properties from the drop-down menu.
- Under Properties, click the General tab. You will see how much free space is available and how much space is being used.
- Click the Disk Cleanup tab.
- Enable all options under Disk Cleanup and click OK. Windows will now begin to clean the disk.
- Wait for the process to complete, as it may take a few minutes depending on the number of files on your hard drive that are being cleaned.
Expert Tip: This repair tool scans the repositories and replaces corrupt or missing files if none of these methods have worked. It works well in most cases where the problem is due to system corruption. This tool will also optimize your system to maximize performance. It can be downloaded by Clicking Here
Frequently Asked Questions
How do I fix Windows Update blocking when checking for updates?
- Reboot your computer.
- Check the date and time.
- Try a different network.
- Update or disable your antivirus program.
- Turn off updates for Microsoft products.
- Restart the Windows update service.
- Run the update troubleshooter.
- Run a disk cleanup.
How do I fix Windows 10 crashes during installation?
According to users, Windows 10 installation can sometimes fail due to BIOS configuration. To fix the problem, you need to go into the BIOS and make some settings. To do this, simply hold down the Del or F2 key while booting the system to access the BIOS.
How do I know if the update is stuck?
- Go to Start -> All Programs -> Accessories -> Right click on Command Prompt and select "Run as Administrator".
- Type net stop wuauserv to stop the Windows Update service.
- Wait until the message appears: Windows Update service successfully stopped.
