Updated April 2024: Stop getting error messages and slow down your system with our optimization tool. Get it now at this link
- Download and install the repair tool here.
- Let it scan your computer.
- The tool will then repair your computer.
Click System and Security > System.
Click Advanced system settings.
Under Startup and Recovery, click Options.
Set up debug logging to generate a small memory dump.
Open the control panel.
Click System and Security.
Click System
Open “Advanced system settings”
Open Startup and Recovery – Settings.
Select the desired Windows 10 BSOD dump file type.
Select the location of the dump file for Windows 10.
Clean up crash dumps with Disk Cleanup
Press Ctrl + Shift Enter to open Disk Cleanup as an administrator. Select drive C: in the drive selection window and click OK. Select the System Error Memory Dump Files check box. Then click OK.
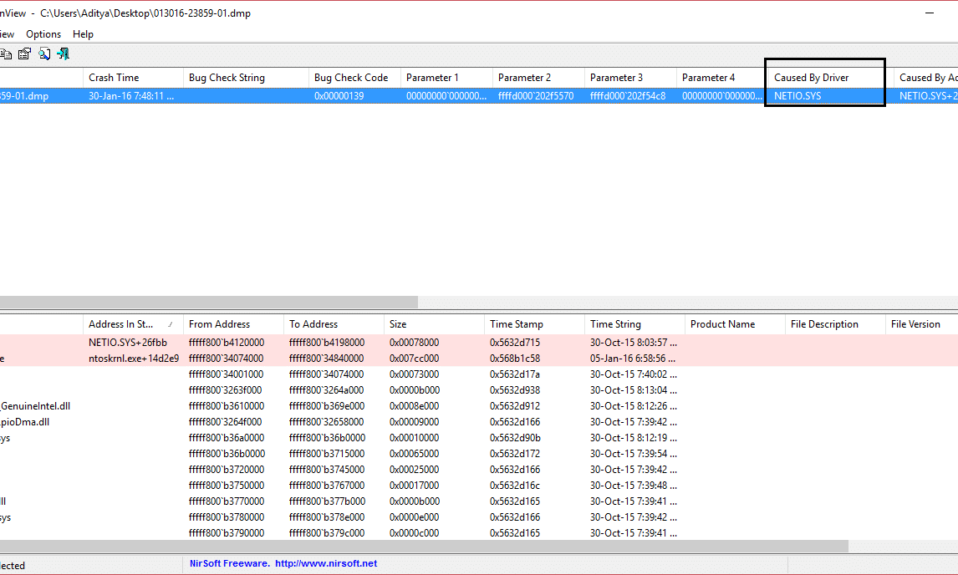
If a Windows computer crashes, a BSOD or blue death screen is displayed. This screen usually appears for a split second, creates a few logs or dump files, as many people refer to it, and then suddenly restarts the computer. Well, this process is so fast that the user often does not have the ability to get the right error code and probably does not have the ability to check what went wrong. These crash dump files are stored internally on the computer and are only accessible by an administrator.
The crash dump files are of 4 main types. They are also not under Windows 10:
- Complete spill,
- Core spill,
- Small discharge (256KB) or
- Active spills.
Configure Windows to create dump files on the blue screen
April 2024 Update:
You can now prevent PC problems by using this tool, such as protecting you against file loss and malware. Additionally it is a great way to optimize your computer for maximum performance. The program fixes common errors that might occur on Windows systems with ease - no need for hours of troubleshooting when you have the perfect solution at your fingertips:
- Step 1 : Download PC Repair & Optimizer Tool (Windows 10, 8, 7, XP, Vista – Microsoft Gold Certified).
- Step 2 : Click “Start Scan” to find Windows registry issues that could be causing PC problems.
- Step 3 : Click “Repair All” to fix all issues.

First, we recommend creating a system restore point. Because we will play with the system files and change some important Windows settings. Now, we will continue our efforts to have Windows 10 create dump files after a stop error.
1. Create dump files by changing settings in Startup and Recovery
Now start by opening the Control Panel. Simply search the Control Panel in the Cortana search box and click on the corresponding results.
Be sure to display content by category . Click the header link entitled System and Security – or simply right-click the icon This PC and click Properties.
Select Advanced System Settings on the left side .A new small window opens.
Select button Settings below region Start and recovery.
Under the region called System error, you can write any option from the drop-down menu Debugging Information:
- None (No dump file created by Windows)
- Small dump (Windows creates a minidump file on BSOD)
- Kernel Memory Dump (Windows creates a kernel memory dump file on BSOD)
- Complete Memory Dump (Windows creates a Dump-file on BSOD) Complete Memory Dump-) File on BSOD)
- Automatic dump (Windows creates automatic dump file on BSOD
- Active memory dump (Windows creates active memory dump file on BSOD)
Worth mentioning, that the complete emptying requires an exchange file whose physical memory size is installed on the computer with a dedicated space of only 1 MB for the page header.
After selecting the option that suits you best, select OK/Apply and exit the program.
Restart your computer for the changes to take effect.
2. Create WMIC dump files command line
Start with WINKEY + X key or right click the Start button and click Prompt (Admin) or simply search cmd in the Cortana search box, right click the Prompt icon and click Run as administrator
Now enter one of the following commands based on your Windows 10 settings to create dump files.
No dump file : wmic RECOVEROS sets DebugInfoType = 0
Small dump : wmic RECOVEROS sets DebugInfoType = 3
Kernel dump : wmic RECOVEROS sets DebugInfoType = 2
Full dump : wmic RECOVEROS sets DebugInfoType = 1
Automatic dump : wmic RECOVEROS defines DebugInfoType = 7
Active dump : wmic RECOVEROS defines DebugInfoType = 1
For your information: A full dump requires a page file that has a physical memory size installed on the computer with a dedicated space of 1 MB for only the page header.
Enter , exit to exit the command prompt.
Restart your computer for the changes to take effect.
To check which current dump settings are available on your computer, simply type the following command to check,
wmic RECOVEROS returns DebugInfoType
Check now whether your changed settings are working or not.
Expert Tip: This repair tool scans the repositories and replaces corrupt or missing files if none of these methods have worked. It works well in most cases where the problem is due to system corruption. This tool will also optimize your system to maximize performance. It can be downloaded by Clicking Here