Updated April 2024: Stop getting error messages and slow down your system with our optimization tool. Get it now at this link
- Download and install the repair tool here.
- Let it scan your computer.
- The tool will then repair your computer.
If your Windows Defender displays an error message that says: “Items skipped during the scan” this may be because you have added an exclusion in your scan settings or you have disabled network scanning on your system. If you encounter this problem, you may need to enable network scanning in Windows Defender on Windows 10 to resolve the issue.

Windows security is built into Windows 10 and includes an antivirus program called Windows Defender Antivirus.
Windows Defender Antivirus helps protect your PC from malicious software (malware) such as viruses, spyware, and other potentially unwanted software. Malware can infect your PC without your knowledge: It can be installed from an e-mail message when you connect to the Internet or when you install certain applications using a USB stick, CD, DVD, or other removable media. Some malicious software can also be programmed to run at unexpected times, not just when it is installed.
April 2024 Update:
You can now prevent PC problems by using this tool, such as protecting you against file loss and malware. Additionally it is a great way to optimize your computer for maximum performance. The program fixes common errors that might occur on Windows systems with ease - no need for hours of troubleshooting when you have the perfect solution at your fingertips:
- Step 1 : Download PC Repair & Optimizer Tool (Windows 10, 8, 7, XP, Vista – Microsoft Gold Certified).
- Step 2 : Click “Start Scan” to find Windows registry issues that could be causing PC problems.
- Step 3 : Click “Repair All” to fix all issues.

Enable or Disable Scanning of Network Files with Windows Defender Antivirus in PowerShell
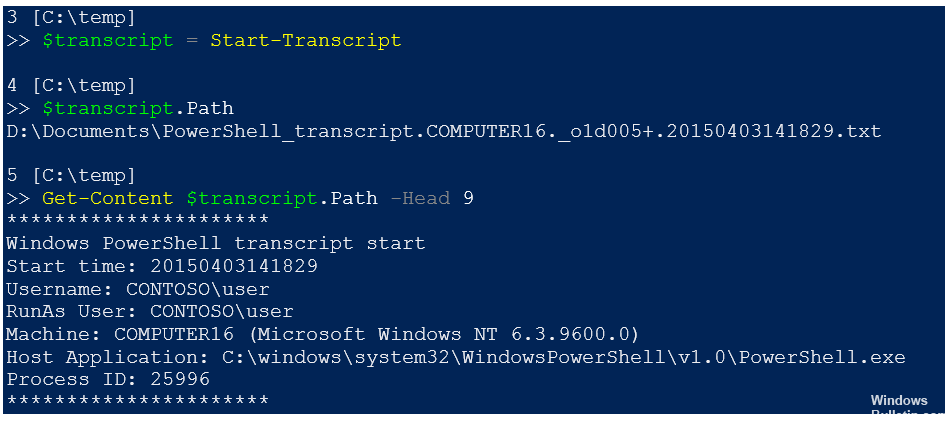
1. Open an embossed PowerShell.
2. Copy and paste the command below that you want to use in the PowerShell and press Enter.
(Enable)
Set-MpPreference -DisableScanningNetworkFiles 0
OR
(Deactivating)
Set-MpPreference -DisableScanningNetworkFiles 1
3. When you are finished, you can close PowerShell if you wish.
Using the Registry Editor

Press Windows + R. In the Run dialog box, type regedit, press Enter, click Yes at the UAC prompt to launch the Registry Editor.
Navigate to the next registry key :
HKEY_LOCAL_MACHINE > SOFTWARE > Policies > Microsoft > Windows Defender > Scan
If you do not have the scan key, create it by right-clicking on Windows Defender and then clicking New > Key.
You can now create a new DWORD (32-bit) value called DisableScanningMappedNetworkDrivesForFullScan.
Now double-click this newly created value to change its properties.
- To activate it, set it to 0
- To deactivate it, set it to 1
Restart your PC.
Enable or Disable Network File Scanning with Group Policy
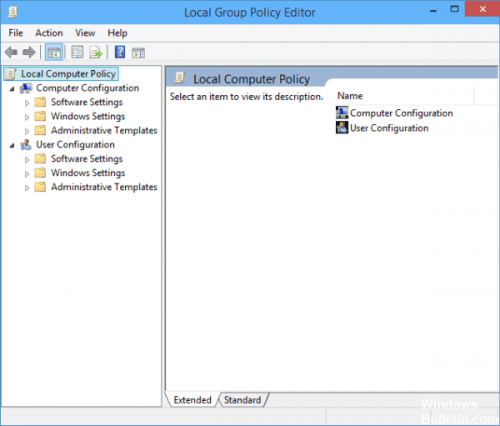
- Open the Local Group Policy Editor application or start it for all users except the administrator or for a specific user.
- Navigate to Computer Configuration\Administration Templates\Windows Defender Antivirus\Scanner on the left.
- In Windows 10 version 2004, navigate to Computer Configuration\Administrative Templates\Windows Components\Microsoft Defender Antivirus\Scan. It is renamed Microsoft Defender.
- On the right, locate the Scan Network Files policy setting.
- Double-click it and set the policy to Enabled.
- If you set the policy to Disabled or Unconfigured, the Network File Scanning function is disabled.
Conclusion
Windows Defender has evolved into a complete security product for Windows 10, offering a powerful antivirus engine and more advanced features such as cloud access protection, ransom protection and parental controls.
In the latest versions of Windows 10, Windows Defender is at the heart of a security hub called Windows Security, where all these features are bundled together. Although Windows Defender comes pre-installed with virus protection, users can also install third-party security products. Once this happens, Windows Defender is automatically disabled to avoid compatibility issues.
The problem mentioned above, which causes some files to skip, occurs in all supported versions of Windows 10, including the 1909 version of Windows 10 (the latest stable version).
Expert Tip: This repair tool scans the repositories and replaces corrupt or missing files if none of these methods have worked. It works well in most cases where the problem is due to system corruption. This tool will also optimize your system to maximize performance. It can be downloaded by Clicking Here

CCNA, Web Developer, PC Troubleshooter
I am a computer enthusiast and a practicing IT Professional. I have years of experience behind me in computer programming, hardware troubleshooting and repair. I specialise in Web Development and Database Design. I also have a CCNA certification for Network Design and Troubleshooting.