Updated April 2024: Stop getting error messages and slow down your system with our optimization tool. Get it now at this link
- Download and install the repair tool here.
- Let it scan your computer.
- The tool will then repair your computer.
As the name implies, the Microsoft Surface docking station turns your Surface device into a desktop computer. It has USB type A, USB type C, audio port, Ethernet port, etc. (similar to a standard notebook). This not only improves the overall usage of the device, but also increases the performance of your Microsoft Surface device such as a computer. However, it seems that some of the dissatisfied Surface Dock users encountered a bug report about SurfaceBaseFwUpdateDriver.dll when installing the Surface Dock update.
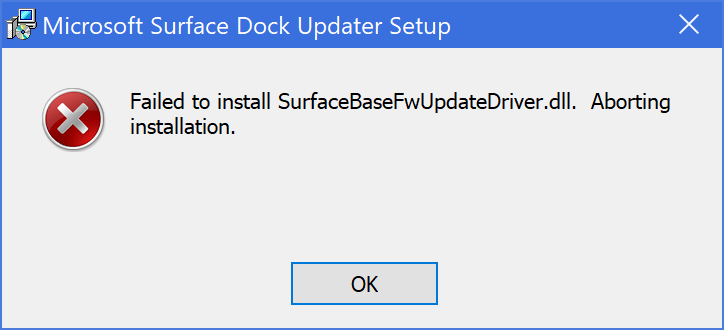
If you are one of the victims, please read the troubleshooting guide below to find out how easy it is to solve this problem. Since Microsoft Surface Dock firmware update is useful for users, we cannot miss this particular error message. To get it, an error message “SurfaceBaseFwUpdateDriver.dll could not be installed. Cancel the installation. “
It’s also worth noting that if you think you can update the firmware of the Surface docking station with another Microsoft Surface device, if you can’t update it with your actual Surface device, you won’t do it. maybe you won’t be able to use some features or improvements.
Run the update program as SYSTEM
- Download the latest version of Surface Dock update tool from https://www.microsoft.com/download/details.aspx?id=46703.
- Download and unpack PSTools from https://docs.microsoft.com/en-us/sysinternals/downloads/pstools.
- Open a command line with elevated privileges and navigate to the directory where you also extracted the PSTools files.
- Perform the following command: psexec -i -s CMD
- A new command line will be opened.
- Enter “whoami” and make sure it returns “nt Authority \ System”.
- Go in and run the MSI tool to update the Surface docking station. This time must now be set correctly.
April 2024 Update:
You can now prevent PC problems by using this tool, such as protecting you against file loss and malware. Additionally it is a great way to optimize your computer for maximum performance. The program fixes common errors that might occur on Windows systems with ease - no need for hours of troubleshooting when you have the perfect solution at your fingertips:
- Step 1 : Download PC Repair & Optimizer Tool (Windows 10, 8, 7, XP, Vista – Microsoft Gold Certified).
- Step 2 : Click “Start Scan” to find Windows registry issues that could be causing PC problems.
- Step 3 : Click “Repair All” to fix all issues.

Remove the keyboard
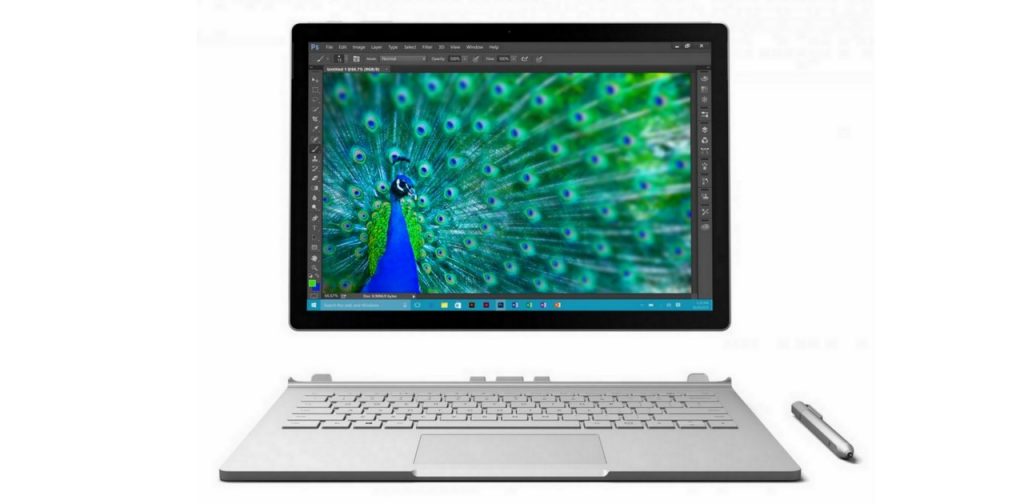
Another way to solve the problem is to detach the Surface device keyboard from the screen. After unplugging the keyboard, you can run the update tool to see if the problem is solved. This was reported by a user facing a similar problem and removing the screen helped to solve this problem.
There are two ways to safely disconnect the keyboard from the Surface device. Before you start, make sure that your Surface Book is more than 10% loaded. You can use the “Disconnect” button on your keyboard located in the upper right corner, or the “Disconnect” icon located on the right side of the Windows taskbar. After you have clicked the “Disable” button, after one second a red light will light up and then a green one. Eventually, you should hear a click indicating that it is ready to lose weight. Grasp the upper part and lift it up until the pull button indicator lights green. Finally, run the Surface Dock Updater again and see if the error message appears again.
Change the boot order
Another way to perform this process is to change the boot order. Place “PXE Network” at the beginning of the list:
- Turn off the device.
- After mute, press and hold the volume up key and press the power key. Do not release the volume up button until the Surface or Windows logo appears and disappears from the screen.
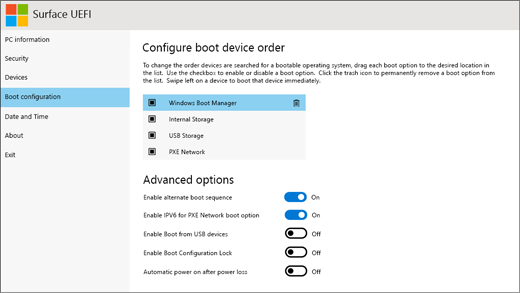
- When the UEFI environment opens, select Boot Configuration from the left pane.
- On the “Boot Order Configuration” page, select PXE Network on the right pane. Drag and drop the option up the list (i.e. over Windows Boot Manager, internal storage and USB flash drive).
- Try PXE again. It will now pass.
There you go. Now you know how to boot a Microsoft Surface laptop with PXE without any problems.
Expert Tip: This repair tool scans the repositories and replaces corrupt or missing files if none of these methods have worked. It works well in most cases where the problem is due to system corruption. This tool will also optimize your system to maximize performance. It can be downloaded by Clicking Here

CCNA, Web Developer, PC Troubleshooter
I am a computer enthusiast and a practicing IT Professional. I have years of experience behind me in computer programming, hardware troubleshooting and repair. I specialise in Web Development and Database Design. I also have a CCNA certification for Network Design and Troubleshooting.