Updated April 2024: Stop getting error messages and slow down your system with our optimization tool. Get it now at this link
- Download and install the repair tool here.
- Let it scan your computer.
- The tool will then repair your computer.
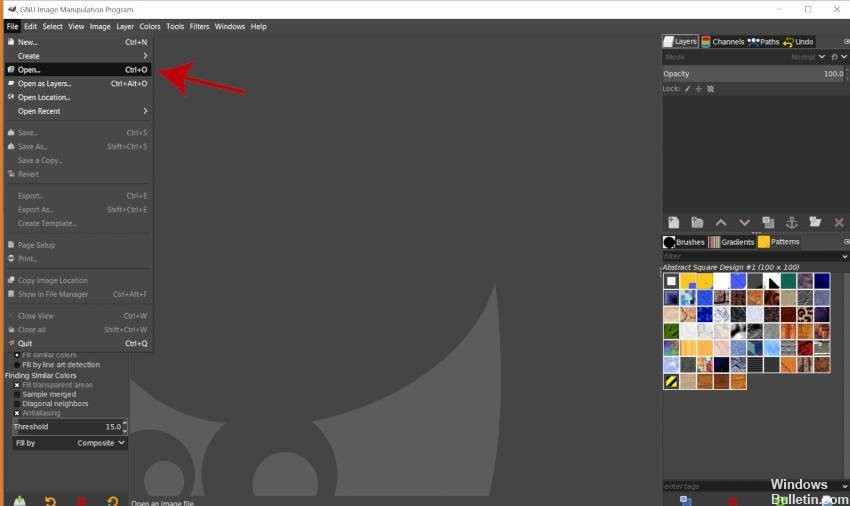
When you add fonts to your Windows PC, they are technically immediately available in all supported programs such as Microsoft Word, Paint, Photoshop and even GIMP. Sometimes fonts appear in some applications and in others. This is what happens in GIMP for some users. So, we are going to tell you how to fix that GIMP does not recognize new fonts.

GIMP is a free open source alternative to Photoshop. Although we are familiar with image processing capabilities, for example. For example, changing the background of an image, removing the background, and even creating a transparent background also surprises us when it comes to text. But this requires beautiful fonts. And when they are not loaded, there are problems.
Let’s dive into how you can view new fonts in GIMP.
Add font folders

- Go to EDIT -> SETTINGS -> FOLDER (expand) -> FONTS
- Click on the ARRIFTS
- Schrift Files will appear on the right side of the window.
- Add folder C: \ Windows \ FONTS using the ADD button (icon on the left, similar to a page) and select a folder (icon to open the folder on the right).
- Click OK and so until all windows are closed.
- Close GIMP and restart the application (this is what I did).
Now you need to add all these fonts to your toolset.
In the upper right corner, click the triangle of tool options.
ADD TOOL (expand)
Select FRASIES
Copy fonts directly into GIMP fonts folder
Another way to solve this problem is simply to copy the newly loaded fonts to the GIMP Fonts folder. This is because GIMP already has a path to its own fonts folder. Sometimes GIMP fails to get fonts from the Windows folder, but fonts in its own folder can be easily viewed. Follow the instructions below to find the GIMP Fonts folder.
- Download the font you want to add to your system. Once downloaded, you can copy the downloaded file or font from the Windows Fonts folder.
- Paste the font files into the folder of the GIMP folder as shown below.
- C: \ Program Files \ GIMP 2 \ share \ gimp \ 2.0 \ fonts
- Restart GIMP if it is already running, and check your font.
Add fonts globally
- Download the desired font.
- Find the archive and open it.
- Find the font file and double-click it to open it.
- Now you should see a font preview.
- Click on the “Install” button.
- Run GIMP and the font should be available.
Instead of installing the font, you can move it to the Fonts directory in the Windows folder. It will be installed automatically.
Although this method is much simpler, it installs fonts globally and in GIMP, so you can use them in any application on your PC.
Cleaning up the GIMP font cache files
Some users have solved this problem by removing the font cache files on their system. The folder of cached fonts may have different paths for each operating system. We will show you this in Windows 10. We will also show you the step where you can check the path to the cache folder by opening the file fonts.conf as follows:
- Open the explorer and browse to the next directory to find the fonts cache folder.
- % User Profile % . Cache \ fontconfig
- Delete all files in this folder and restart the GIMP program. Now make sure that the font is displayed in GIMP.
- If you cannot find the font cache folder at the path above, go to the GIMP directory and open the file fonts.conf.
- C: \ Program Files \ GIMP 2 \ etc \ fonts
- There you will find a section with a list of font cache directories and a path to the cache folder.
Expert Tip: This repair tool scans the repositories and replaces corrupt or missing files if none of these methods have worked. It works well in most cases where the problem is due to system corruption. This tool will also optimize your system to maximize performance. It can be downloaded by Clicking Here

CCNA, Web Developer, PC Troubleshooter
I am a computer enthusiast and a practicing IT Professional. I have years of experience behind me in computer programming, hardware troubleshooting and repair. I specialise in Web Development and Database Design. I also have a CCNA certification for Network Design and Troubleshooting.