Updated April 2024: Stop getting error messages and slow down your system with our optimization tool. Get it now at this link
- Download and install the repair tool here.
- Let it scan your computer.
- The tool will then repair your computer.
Windows Defender is a virus protection for Windows 10 that is integrated into the operating system. It provides real-time protection for your Windows 10 PC by protecting it from viruses, malware or spyware that can attack commonly used programs such as email, web, cloud and other applications.
Every time Windows Defender scans your computer, it automatically saves the protection history. If you want to manually delete the protection history, you can use the method below.
To manually remove the protection history from Windows Defender in Windows 10
When Windows Defender finds a threat, you receive a pop-up window and a new notification.
- You can click the pop-up window or, if you missed it, click Notifications in the lower right corner.
- A window opens with the file name and details.
- If you are not sure which file you uploaded, you should always forget it. Life goes on.
- But if you know it is a false positive, you can let the file go.
- Scroll down the list to the end of the details and look for the drop-down list of actions. Click on it and click Allow.
April 2024 Update:
You can now prevent PC problems by using this tool, such as protecting you against file loss and malware. Additionally it is a great way to optimize your computer for maximum performance. The program fixes common errors that might occur on Windows systems with ease - no need for hours of troubleshooting when you have the perfect solution at your fingertips:
- Step 1 : Download PC Repair & Optimizer Tool (Windows 10, 8, 7, XP, Vista – Microsoft Gold Certified).
- Step 2 : Click “Start Scan” to find Windows registry issues that could be causing PC problems.
- Step 3 : Click “Repair All” to fix all issues.

- Remember that once you have authorized a file, you will need to upload it again.
- Also, this file is now on a permanent white list. However, you can still manage your threats authorized by Windows Defender.
- Click the Windows Security icon in the lower right corner. Click Virus and Threat Protection > Authorized Threats.
- Click Protection History.
- You can now see a list of blocked threats. You can use filters to find recommendations, quarantines, cleanups, blocks, or serious threats. You can also delete your filter history from the Filter drop-down list.
As mentioned previously, you can click on each blocked threat, scroll to the end of the details and see the action drop-down list. Click on it and click Allow. Other options are Delete for some items, although these usually only remain in the list for a few weeks.
Using the PowerShell Set-MpPref cmdlet
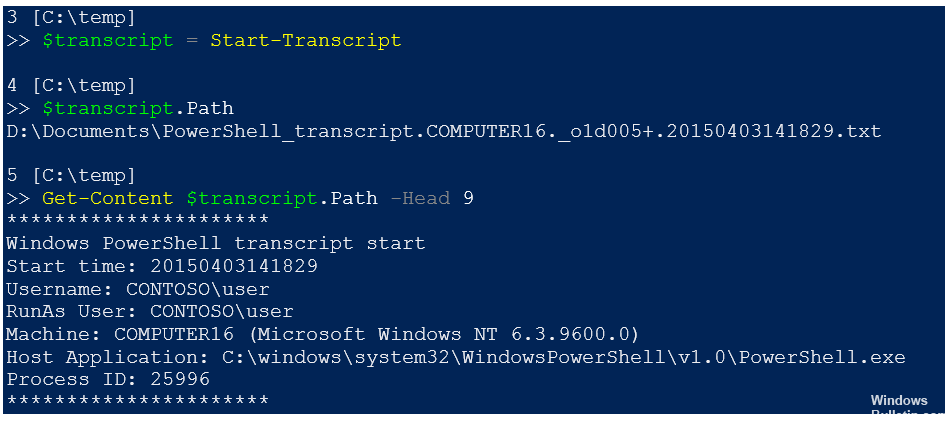
You use the Set-MpPreference cmdlet to configure the settings for scans and updates of Windows Defender. You can change exclusion file name extensions, paths, or processes, and you can specify the default action for high, medium, and low threat levels.
You can specify a different time frame (in days) by running the cmdlet below in PowerShell management mode (press Win+X, then press A on the keyboard) :
- Set-MpPreference -ScanPurgeItemsAfterDelay 1
- The number 1 indicated is the number of days after which the protection history log and log file items are deleted.
Conclusion
The Protection History page displays the detections made by Windows Defender and provides detailed and easy-to-understand information about threats and available actions. Beginning with the 18305 build, it includes blocks for controlled access to folders and all blocks created by the organizational rule configuration to reduce the attack surface.
Expert Tip: This repair tool scans the repositories and replaces corrupt or missing files if none of these methods have worked. It works well in most cases where the problem is due to system corruption. This tool will also optimize your system to maximize performance. It can be downloaded by Clicking Here

CCNA, Web Developer, PC Troubleshooter
I am a computer enthusiast and a practicing IT Professional. I have years of experience behind me in computer programming, hardware troubleshooting and repair. I specialise in Web Development and Database Design. I also have a CCNA certification for Network Design and Troubleshooting.