Updated April 2024: Stop getting error messages and slow down your system with our optimization tool. Get it now at this link
- Download and install the repair tool here.
- Let it scan your computer.
- The tool will then repair your computer.
In Windows 10, Automatic Repair is a handy feature that can help you find and solve common problems that may prevent your device from charging properly.
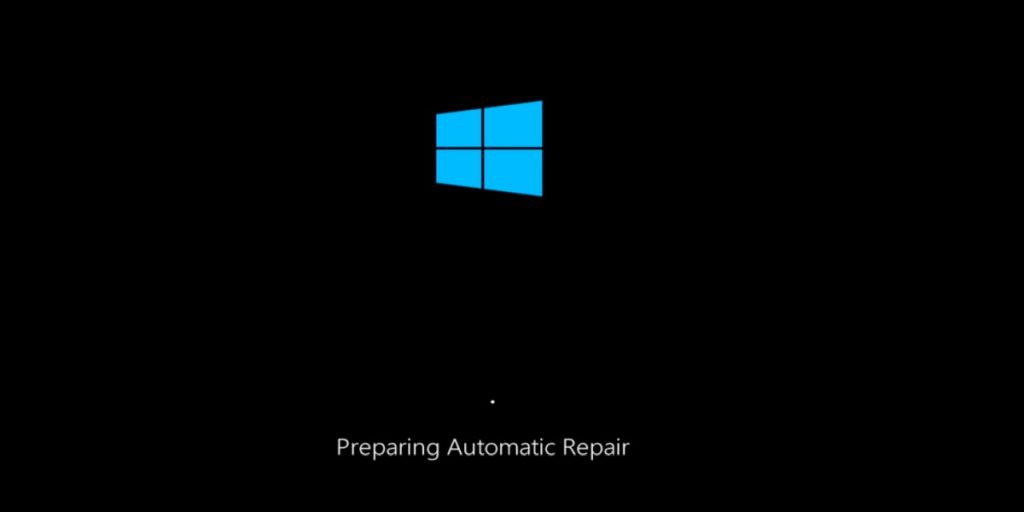
If your computer does not boot twice in a row, the third time the auto repair mechanism is triggered and, during this process, the system performs a series of diagnostic tests to find and resolve common boot problems.
However, if you prefer to find and resolve boot problems manually, or if the automatic repair causes unexpected loops, you can disable the feature in Windows 10.
In this Windows 10 guide, we walk you through the steps to disable automatic diagnosis and repair of your device. If Auto Repair was previously disabled or if you want to undo changes, we will also guide you through the steps to enable it again.
How to Enable or Disable Automatic Repair in Command Prompt at Boot
Open a command prompt at startup.
At startup, type bcdedit at the command prompt and press Enter. (see screenshot below)
A) In the Windows Boot Loader section, find your Windows 10 (description) and note its identification (for example: “{default}”).
B) In the same section, note whether recoveryabled is currently set to Yes (enabled) or No (disabled).
April 2024 Update:
You can now prevent PC problems by using this tool, such as protecting you against file loss and malware. Additionally it is a great way to optimize your computer for maximum performance. The program fixes common errors that might occur on Windows systems with ease - no need for hours of troubleshooting when you have the perfect solution at your fingertips:
- Step 1 : Download PC Repair & Optimizer Tool (Windows 10, 8, 7, XP, Vista – Microsoft Gold Certified).
- Step 2 : Click “Start Scan” to find Windows registry issues that could be causing PC problems.
- Step 3 : Click “Repair All” to fix all issues.

Type the desired command at the bottom of the boot prompt and press Enter. (see screenshot above)
(activate automatic repair – DEFAULT)
bcdedit /set {identifier} recoveryenabled Yes
OR
(Disabling automatic repair)
bcdedit /set {identifier} recoveryenabled No
Replace the identifier in the command above with the actual identifier (for example: “{default}”) from step 2 above for Windows 10.
For example: bcdedit /set {default} recoveryenabled No
When you are finished, close the command prompt at startup.
Click/tap Continue to complete the recovery and start Windows 10.
Conclusion
When you see the auto repair screen, you must let it run for a while. The repair can be done in seconds and can sometimes take hours. Just because you’ve looked at the screen for ten or twenty minutes doesn’t mean your system is trapped in a loop. Some repairs take a long time. If you don’t have time to complete the repair, you can force the system to shut down and then try booting up on your desktop. This is not without risk; you could lose the repairs you have done so far, and you may not be able to access your desktop. It is best to give Windows 10 enough time to complete the repair.
https://www.technology.org/2017/11/14/7-ways-fix-stuck-in-windows-automatic-repair-loop/
Expert Tip: This repair tool scans the repositories and replaces corrupt or missing files if none of these methods have worked. It works well in most cases where the problem is due to system corruption. This tool will also optimize your system to maximize performance. It can be downloaded by Clicking Here

CCNA, Web Developer, PC Troubleshooter
I am a computer enthusiast and a practicing IT Professional. I have years of experience behind me in computer programming, hardware troubleshooting and repair. I specialise in Web Development and Database Design. I also have a CCNA certification for Network Design and Troubleshooting.