Updated April 2024: Stop getting error messages and slow down your system with our optimization tool. Get it now at this link
- Download and install the repair tool here.
- Let it scan your computer.
- The tool will then repair your computer.
If you have assigned a network drive to automatically connect when you connect, the AutoPlay service displays the “All network drives cannot be mapped when you connect” notification if Windows cannot connect for some reason.
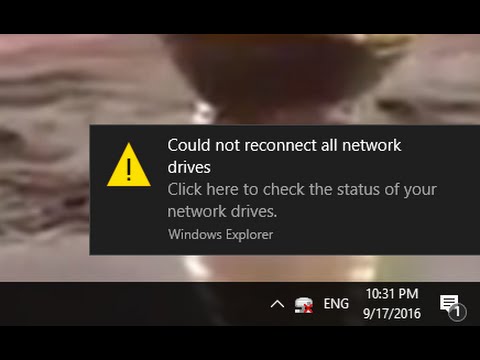
In this case, you often just need to open the connected network drive to connect. This makes this notification unnecessary or annoying if it is always displayed every time you log on.
In this tutorial we will teach you how to disable the “Not all network drives can be recovered at login” notification for all Windows 10 users.
Create a startup item
Note. This workaround works only for a device that has access to the network when it is connected. If the device has not established a network connection during registration, the startup script will not automatically reconnect network drives.
Copy the script file (MapDrives.cmd) to the following folder:
% ProgramData% \ Microsoft \ Windows \ Start Menu \ Programs \ Autoload
Copy the script file (MapDrives.ps1) to the next folder:
% SystemDrive% \ Scripts \
The log file (StartupLog.txt) is created in the TEMP% folder .
Log out and then log back in to open the connected drives.
Create a scheduled task
Copy the MapDrives.ps1 script file to the next folder:
% SystemDrive% \ Scripts \
- In the Task Scheduler, select Action> Create task.
- In the General tab of the Create Task dialog box, enter a name (e.g. Connect network drives) and a description of the task.
- Select “Change user or group”, select a local user or group (for example, LocalComputer \ Users) and click “OK”.
- In the Triggers tab, select Create, and then select Connect in the Start task field.
- On the Actions tab, select Create, and then select Run the program for the Action field.
- Enter Powershell.exe in the Program / Script field.
- In the Add arguments field (optional) enter:
April 2024 Update:
You can now prevent PC problems by using this tool, such as protecting you against file loss and malware. Additionally it is a great way to optimize your computer for maximum performance. The program fixes common errors that might occur on Windows systems with ease - no need for hours of troubleshooting when you have the perfect solution at your fingertips:
- Step 1 : Download PC Repair & Optimizer Tool (Windows 10, 8, 7, XP, Vista – Microsoft Gold Certified).
- Step 2 : Click “Start Scan” to find Windows registry issues that could be causing PC problems.
- Step 3 : Click “Repair All” to fix all issues.

-windowsstyle hidden -command. \ MapDrives.ps1 >>% TEMP% \ StartupLog.txt 2> & 1
- In the Start field in (optional) enter the location (% SystemDrive% \ Scripts ) of the script file.
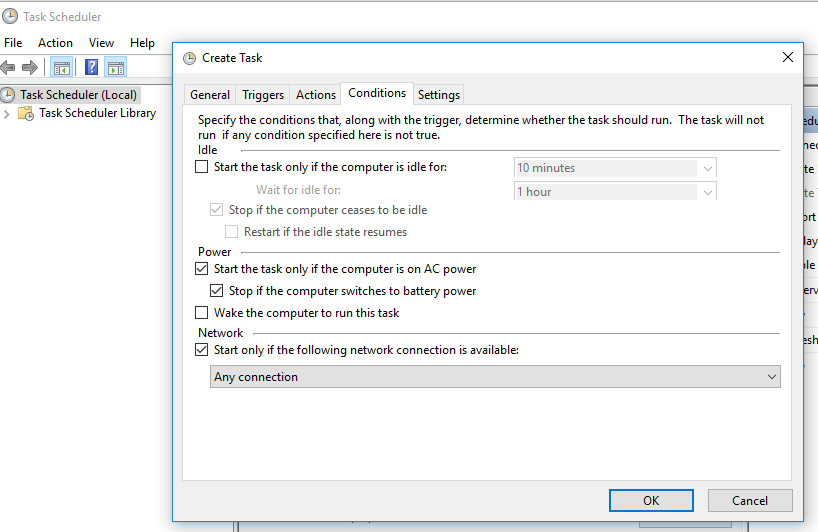
- On the Conditions tab, select Run only if the following network connection is available, select Any connection, and then click OK.
- Log off, and then log back in to complete the scheduled task.
Wait until Window connects before assigning network drivers.
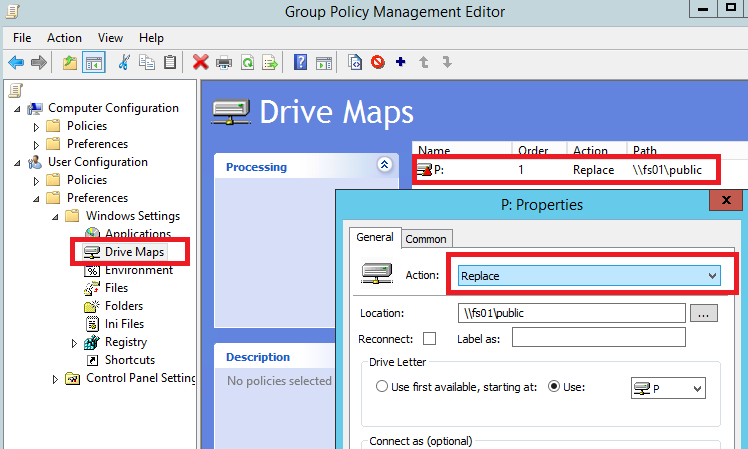
If you see the message “Windows can’t connect to all network drivers”, the policy matching your drivers will usually start at startup and end before you can connect to the system. There is basically no active connection at the moment. This means that drivers cannot be loaded until you complete the Windows 10 logon sequence. In this case, you will need to configure a local group policy object that can make Windows wait to log on before logging on. Here is how it works:
- Press the Win + R key combination to display the “Run” window on your computer.
- In this window, type gpedit.msc and press Enter. The Group Policy Editor is launched.
- From there, go to the following path: Computer Configuration -> Administrative Templates -> System -> Connection.
- Then just check the group policy box “Always wait for network when my computer starts and connects”.
- Apply these new settings and save yours.
- At the end, reboot your Windows 10 system.
Install the update KB4469342
Another way to fix the bug is to install a patch released by Windows. Your system may not have an update that causes a problem. To install an update, follow these steps:
- Go to the Windows Update Center directory.
- Check if there is an update KB4469342 and download the update for your system.
- After downloading, start the update to install it.
- Finally, restart your system to see if the problem has been solved.
Connect the real external driver
If this notification is related to a driver that is not currently connected to your computer, all you have to do is restore the actual connection. For example, if it is an external hard drive that is currently not recognized by your PC and the actual warning is caused by this particular external hardware, you should disconnect and reconnect the USB cable. This should eliminate the system warning as well as the network connection problem that your Windows 10 system first reported.
Expert Tip: This repair tool scans the repositories and replaces corrupt or missing files if none of these methods have worked. It works well in most cases where the problem is due to system corruption. This tool will also optimize your system to maximize performance. It can be downloaded by Clicking Here

CCNA, Web Developer, PC Troubleshooter
I am a computer enthusiast and a practicing IT Professional. I have years of experience behind me in computer programming, hardware troubleshooting and repair. I specialise in Web Development and Database Design. I also have a CCNA certification for Network Design and Troubleshooting.