Updated April 2024: Stop getting error messages and slow down your system with our optimization tool. Get it now at this link
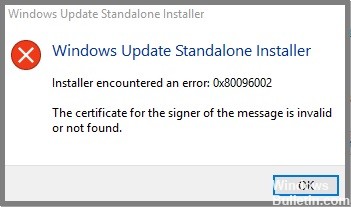
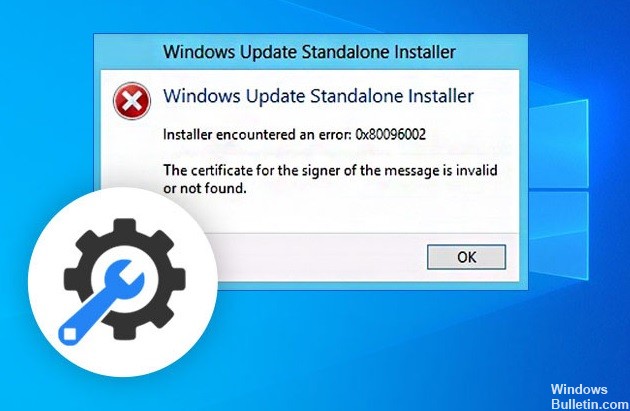
If you are using an offline Windows Update installer to install Windows updates on your Windows 10 computer, but suddenly you get the error “Installer detected error: 0x80096002, The message signer’s certificate is invalid or was not found”, read on, because in this article we will tell you how to fix the error.
What causes the error code 0x80096002 in Windows 10?
- If a particular update is not intended for your device or if your operating system takes an abnormally long time to get new updates, this obstacle may occur.
- Another possible cause of Windows Update Standalone Installer error may be due to corrupted system file entries and improper RAM allocation, which puts a strain on the processor.
- Moreover, if you try to install an update that is not compatible with your operating system, the Standalone Installer error message may appear on your screen.
How to restore error message 0x80096002 in Windows 10?
You can now prevent PC problems by using this tool, such as protecting you against file loss and malware. Additionally it is a great way to optimize your computer for maximum performance.
The program fixes common errors that might occur on Windows systems with ease - no need for hours of troubleshooting when you have the perfect solution at your fingertips:
April 2024 Update:

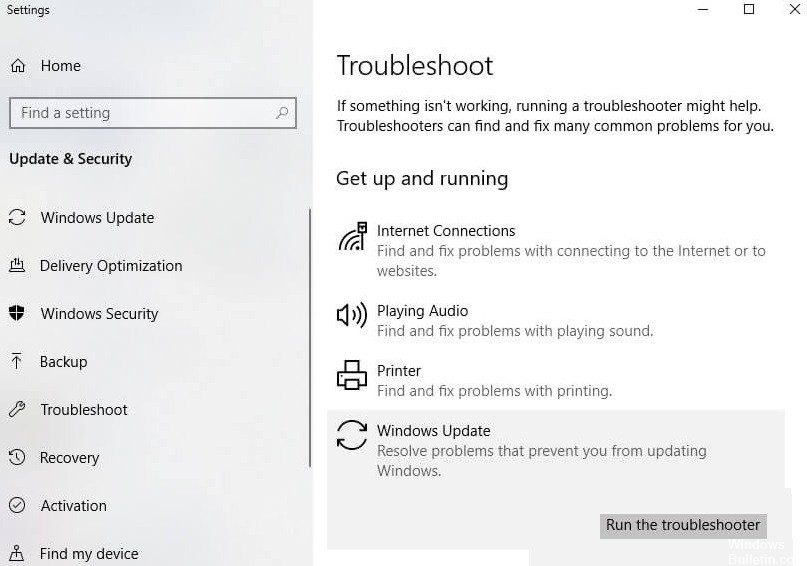
Apply Windows updates troubleshooter
- Type Troubleshooting in the search bar.
- Click Troubleshooting.
- Then click the View All button in the panel.
- Click on Windows Update.
- Then click Next and perform Troubleshooting.
Use the Windows Features feature
- Click the Windows button.
- Enter the Features window.
- Select Enable or Disable Windows Features.
- When the application opens, find the application name, select the check box, and then click OK.
Resolving compatibility issues
- Locate the installation file.
- Right-click it and choose Fix Compatibility Issues from the context menu.
- Then click on the “Try Recommended Settings” option.
- Once the process completes, the error message should disappear.
Launch the installer in compatibility mode
- Locate the installation file.
- Once you find it, right-click on it and choose Properties from the context menu.
- Then go to the “Compatibility” tab and check the “Run this program in compatibility mode for:” box and select from the drop-down list the version of the Windows operating system under which the installer is to run.
- You should also check the “Run as administrator” option.
- Then click on “Apply” and then on “OK” to save the changes you have made and check if they have solved the problem.
Expert Tip: This repair tool scans the repositories and replaces corrupt or missing files if none of these methods have worked. It works well in most cases where the problem is due to system corruption. This tool will also optimize your system to maximize performance. It can be downloaded by Clicking Here
