Updated April 2024: Stop getting error messages and slow down your system with our optimization tool. Get it now at this link
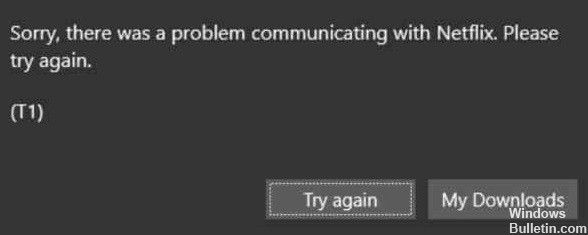
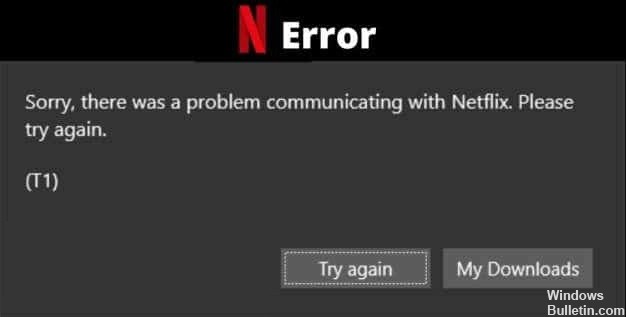
Sometimes errors occur when you run Netflix apps or use them through a browser. Usually, these errors are related to network connection issues, but sometimes there can be other reasons. For example, how many of you have tried to launch a Netflix desktop application and received a blank screen with the error message “Sorry, there was a problem communicating with Netflix” with error code T1?
How many times has this message ruined your good Netflix experience? Don’t worry, because this guide explains how to fix Netflix error code T1 on Windows 10 computers.
What are the causes of the Netflix T1 error code?
- TCP / IP mismatch
- UWP application crash
- Inconsistent timing data
- Difficulty connecting to the Internet
How to resolve the Netflix T1 error code?
You can now prevent PC problems by using this tool, such as protecting you against file loss and malware. Additionally it is a great way to optimize your computer for maximum performance.
The program fixes common errors that might occur on Windows systems with ease - no need for hours of troubleshooting when you have the perfect solution at your fingertips:
April 2024 Update:

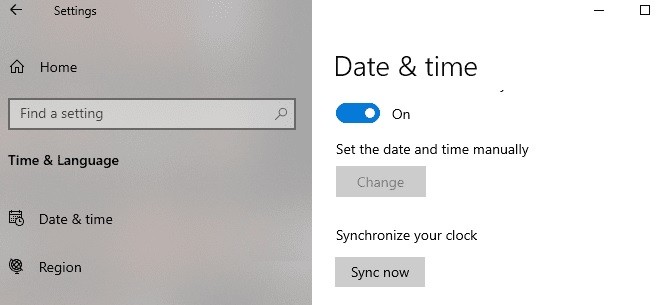
Check the date and time settings
- Open the Windows preferences menu and select “Time and Language”.
- Under “Date and Time,” make sure the “Automatically set time” and “Automatically set time zone” options are enabled.
- Scroll to the end of the “Date and Time” menu and click the “Synchronize Now” button.
Restarting your computer
Turn off and on your computer again. This will update your computer and possibly fix the system and network irregularities that are causing Netflix to fail. If that doesn’t help either, it’s time to take more drastic measures to fix the problem.
Changing the DNS
- Go to Control Panel > Network and Internet > Network and Sharing Center.
- Click on Change Settings in the left sidebar of the adapter.
- Double-click the connection you are currently using.
- Click Properties, then double-click Internet Protocol version 4 (TCP/IPv4).
- Enable the use of the following DNS server addresses.
- Now configure DNS as 8.8.8.8 and 8.8.4.4 (Google DNS). You can also use other common public DNS.
- Now save your settings and connect to the Internet again.
Expert Tip: This repair tool scans the repositories and replaces corrupt or missing files if none of these methods have worked. It works well in most cases where the problem is due to system corruption. This tool will also optimize your system to maximize performance. It can be downloaded by Clicking Here
Frequently Asked Questions
What does T1 error mean?
It usually means that a network connection problem is preventing your computer from accessing Netflix.
What does it mean when Netflix says there is a problem connecting to Netflix?
It usually indicates a network connection problem that is causing your device to be unable to connect to the Netflix service.
How do I fix Netflix on Windows 10?
Uninstall the application and restart Windows. Now go to Start menu > Store > Enter and search for "Netflix" > Select Netflix and install it. And try Netflix again.
