Updated April 2024: Stop getting error messages and slow down your system with our optimization tool. Get it now at this link
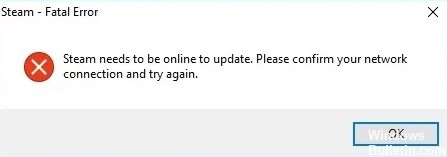
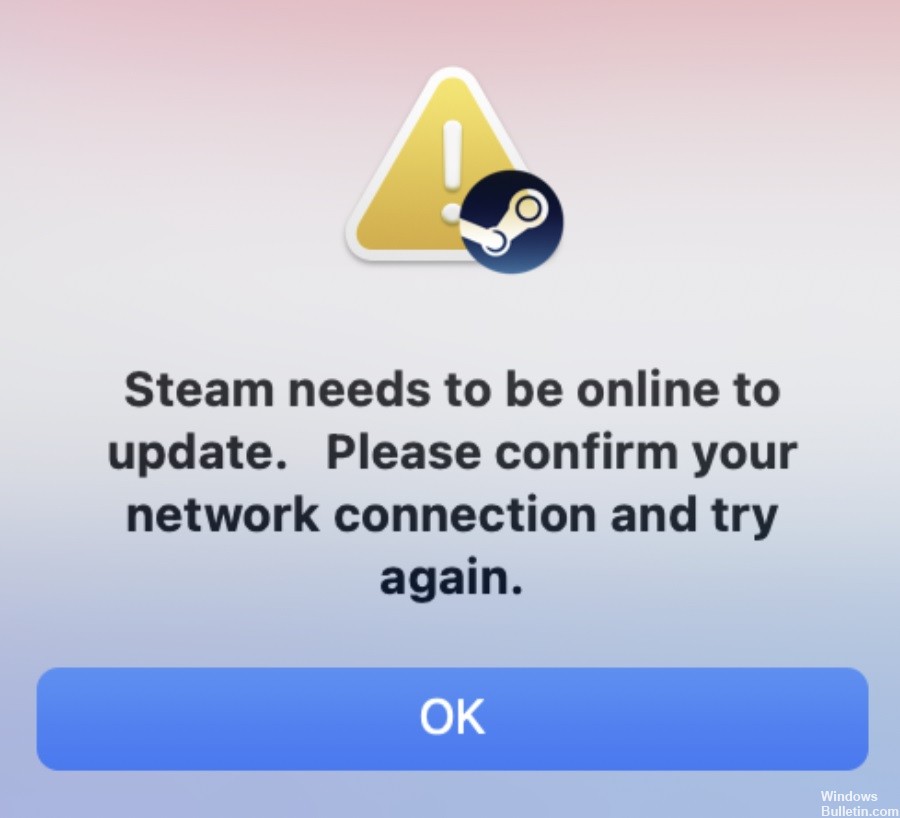
Many Windows 10 users use Steam regularly, but some have reported an error saying that Steam must be online to update. This appears to be something that can happen on Windows computers. It’s a weird problem that prevents you from playing your favorite games, and we understand how annoying it can be.
Fortunately, there are a few solutions, which we’ll cover below. Before we get to them, we’ll describe some of the most common causes that can lead to this problem.
What causes “Steam needs to be online to update”?
Several factors can cause this specific error in the Steam app, such as administrative access to Steam, third-party antivirus programs, enabled proxy settings, problems with DNS settings, or corrupt game files in Steam.
How to resolve the “Steam must be online to update” error message?
You can now prevent PC problems by using this tool, such as protecting you against file loss and malware. Additionally it is a great way to optimize your computer for maximum performance.
The program fixes common errors that might occur on Windows systems with ease - no need for hours of troubleshooting when you have the perfect solution at your fingertips:
April 2024 Update:

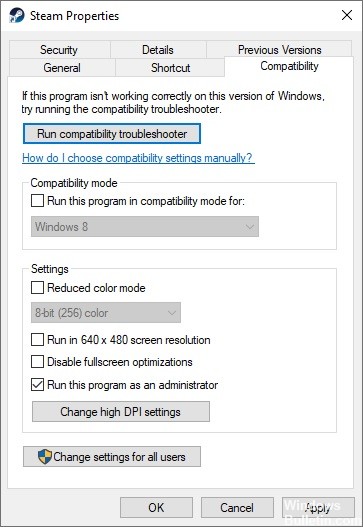
Allow Steam the administrative access
- Locate the Steam directory in File Explorer.
- Right-click on the Steam folder and select the Properties option.
- Click the Security tab and click the Advanced button at the bottom of the dialog box.
- In the permissions entries, double-click the line you want to change.
- Check the Full Controls box and save your changes.
- Restart Steam with full administrator rights.
Disable proxy settings in the network settings
- Open the Run dialog box by pressing Windows + R.
- Enter inetcpl.CPL in the Open field and click OK.
- In the Internet Properties window, switch to the Connections tab.
- Click the Local network settings button.
- Disable the Use proxy server for local network option and click OK.
Add the -tcp option to Steam
- Navigate to the Steam shortcut on your computer and right-click it.
- Select “Properties” from the right-click context menu.
- Switch to the “Shortcut” tab.
- Enter -tcp in the Destination field after the quotes.
- Click Apply and then OK to save your changes.
- Run the Steam shortcut as an administrator.
Expert Tip: This repair tool scans the repositories and replaces corrupt or missing files if none of these methods have worked. It works well in most cases where the problem is due to system corruption. This tool will also optimize your system to maximize performance. It can be downloaded by Clicking Here
Frequently Asked Questions
Why does Steam say it must be online to update?
In most cases, the error is caused by an interrupted network connection. If you are already connected to the network and the error message still appears, it may be due to improper network settings.
What causes “Steam must be online to update” error?
There are several factors that can cause this specific error in Steam, such as administrative access to Steam, third-party antivirus programs, enabled proxy settings, problems with your DNS settings, or corrupt game files in Steam.
How to resolve the “Steam must be online to update” error message?
- Locate the Steam directory in File Explorer.
- Right-click the Steam folder and select Properties.
- Click the Security tab and click the Advanced button at the bottom of the dialog box.
- In the permissions entries, double-click the line you want to change.
- Check the Full Controls box and save your changes.
- Restart Steam with full administrator rights.
