Updated April 2024: Stop getting error messages and slow down your system with our optimization tool. Get it now at this link
- Download and install the repair tool here.
- Let it scan your computer.
- The tool will then repair your computer.
When you start the Windows Update service, you may receive the following error message: “Windows could not start the Windows Update service on Local Computer“, “Error 0x8007277a: The Requested service provider could not be loaded or initialized”.

If you notice an error 0x8007277a, it is probably due to hardware problems or damage to the operating system. It is strongly recommended to use 0x8007277a special care in troubleshooting. The task of this special software would be to correct system settings and recording errors on your PC.
Windows Update is an essential component of any major version of Windows. It allows the operating system to download and install the latest updates with bug fixes, security patches and drivers. It is also the mechanism on Windows 10 to get new features and previews for testers.
April 2024 Update:
You can now prevent PC problems by using this tool, such as protecting you against file loss and malware. Additionally it is a great way to optimize your computer for maximum performance. The program fixes common errors that might occur on Windows systems with ease - no need for hours of troubleshooting when you have the perfect solution at your fingertips:
- Step 1 : Download PC Repair & Optimizer Tool (Windows 10, 8, 7, XP, Vista – Microsoft Gold Certified).
- Step 2 : Click “Start Scan” to find Windows registry issues that could be causing PC problems.
- Step 3 : Click “Repair All” to fix all issues.

However, it may happen that your PC cannot download or install new updates due to a specific error message, that Windows Update cannot connect to Microsoft servers and that other problems occur.
To fix the Windows Update error 0x8007277a:
Reset Winsock

This could be a problem with the Winsock third party. You can reset Winsock. Here’s how you can do it.
1. click on the Windows Start button.
2. Type the command in the Start search box. Right-click to start as an administrator.
3. Enter netsh winsock reset, then press Enter.
4. Enter netsh int ipv4 reset, then press Enter.
5. If you are using ipv6, type netsh int ipv6 reset, then press Enter.
Resetting the Windows update with the troubleshooting tool
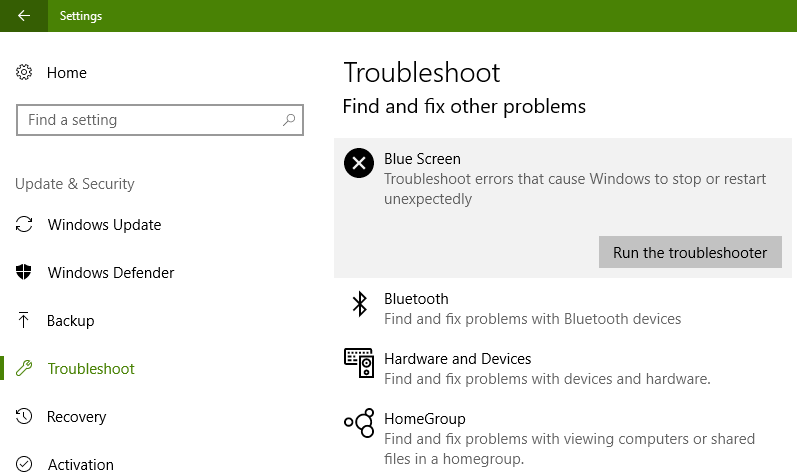
Microsoft provides the Windows Update Troubleshooter utility, which allows you to automate the process of resetting Windows Update components.
- Click here to download and run Windows Update Troubleshooter from Microsoft.
- Select Windows Update and click Next.
- When prompted, click on the Try troubleshooting as administrator option. Select your option again and click Next again.
- Let the troubleshooter solve the problem and click Close.
- Open the utility again, but this time select Windows Networking Diagnostics to solve network problems that prevent you from downloading updates to your PC.
- Let the troubleshooting company solve the problem with Windows Update, then click Close.
- Restart your computer to complete the process.
I hope this will help to solve the problem. If the problem persists, please contact us. We will be happy to help you.
https://answers.microsoft.com/en-us/windows/forum/all/windows-7-update-error-0x8007277a/7422e8ca-9a69-412f-bd88-6f59fb0a1c3b
Expert Tip: This repair tool scans the repositories and replaces corrupt or missing files if none of these methods have worked. It works well in most cases where the problem is due to system corruption. This tool will also optimize your system to maximize performance. It can be downloaded by Clicking Here

CCNA, Web Developer, PC Troubleshooter
I am a computer enthusiast and a practicing IT Professional. I have years of experience behind me in computer programming, hardware troubleshooting and repair. I specialise in Web Development and Database Design. I also have a CCNA certification for Network Design and Troubleshooting.