Updated April 2024: Stop getting error messages and slow down your system with our optimization tool. Get it now at this link
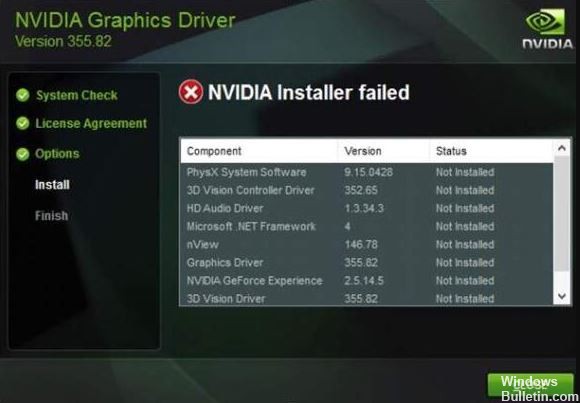
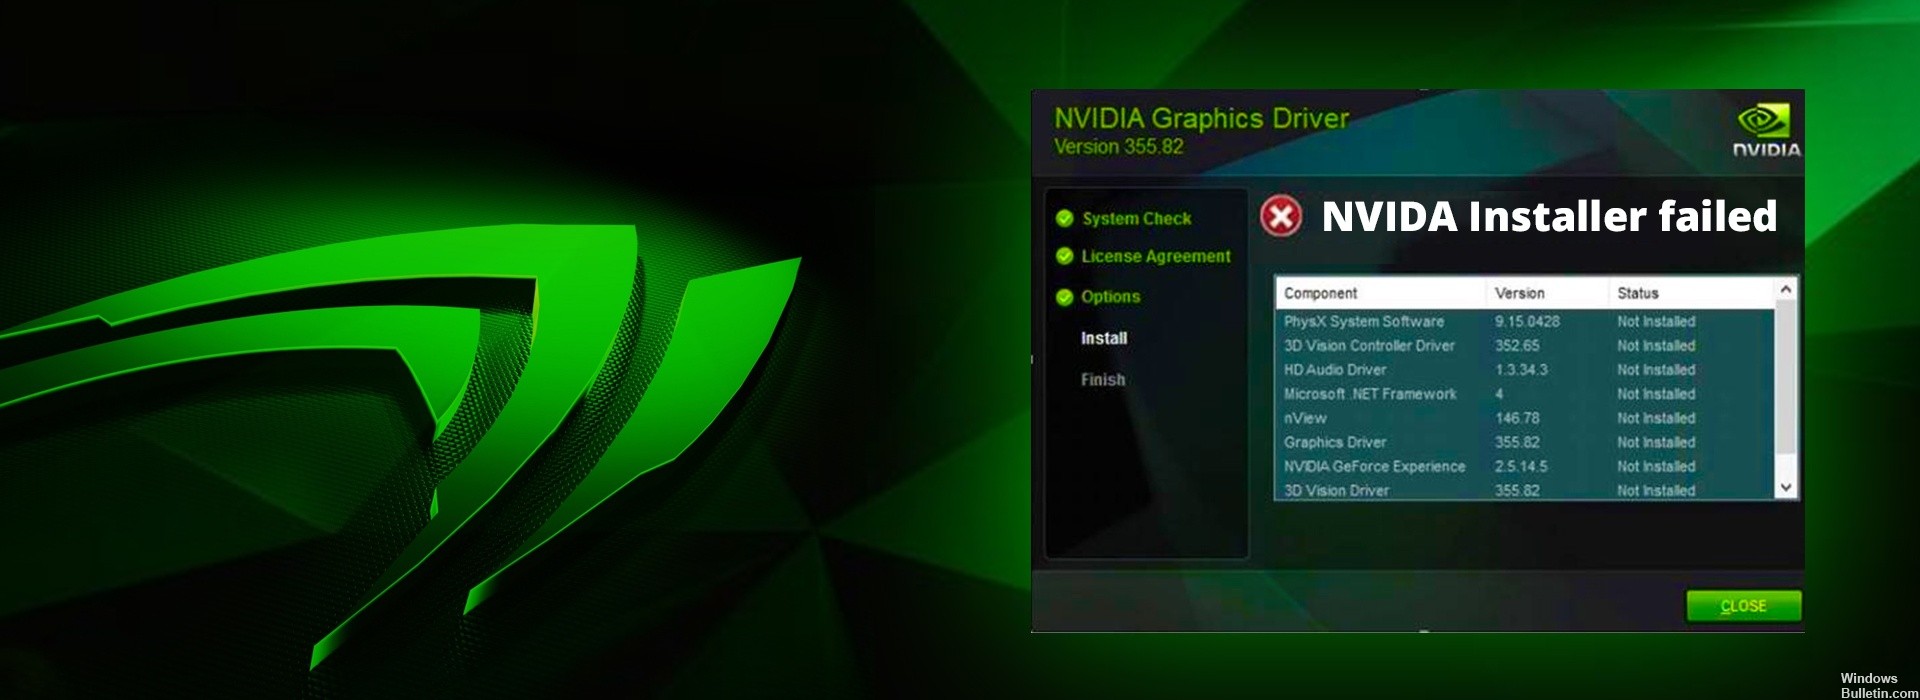
The “NVIDIA Installer Failed” issue is the most common among Windows 10 users because Windows 10 seems to have a rather complicated relationship with NVIDIA GPU drivers. Fortunately, there are many ways to solve the “NVIDIA Installer Failed” issue and install the drivers successfully. Here are the most effective ways to resolve the “NVIDIA Installer Failed” issue and successfully install drivers for NVIDIA GPU.
What causes the “NVIDIA Installer Failed” problem message?
After updating your system to Windows 10, Windows Update will try to load and install the GPU drivers in the background. Sometimes this can take up to 5-10 minutes. If you try to install the NVIDIA driver at the same time, you will most likely get this error.
If you use third-party security software (such as anti-virus, anti-malware, or firewalls), they can block the NVIDIA installer and you may receive an “NVIDIA Installer failed” message each time you run the installer.
How to resolve the “NVIDIA Installer Failed” error message?
You can now prevent PC problems by using this tool, such as protecting you against file loss and malware. Additionally it is a great way to optimize your computer for maximum performance.
The program fixes common errors that might occur on Windows systems with ease - no need for hours of troubleshooting when you have the perfect solution at your fingertips:
April 2024 Update:

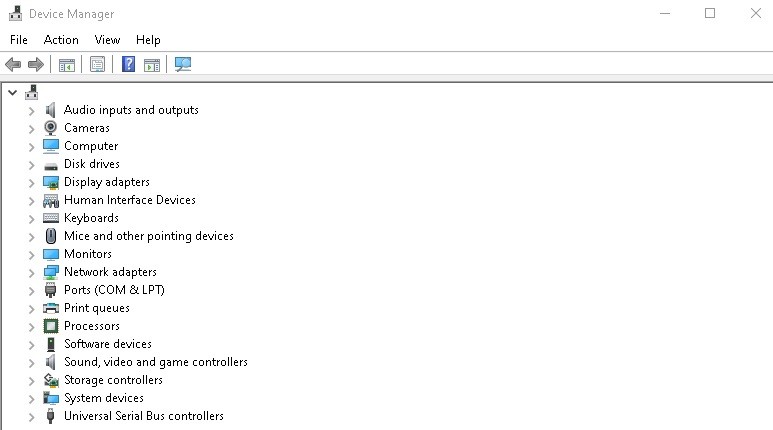
Update the driver manually
- Open the Device Manager by pressing Win+X.
- In the Device Manager window, locate and expand the display adapters.
- Right-click on Nvidia Geforce Drivers and select Update Driver Software.
- The following window will appear, select “Automatically check for updated driver software”.
- Now Windows will search the internet for available updates for the driver.
- If updates are available, they will be installed.
Disable all antivirus programs
- Launch “Task Manager” (Ctrl+Shift+Esc).
- Go to the Processes tab. Find all the running antivirus software processes and select them all individually, then click “End Task” to end the selected process.
- Reboot your system.
- Now try to install the Nvidia driver by performing a clean installation.
Perform a clean install
- Download the latest version of the Nvidia installer by manually entering your requirements, and install the latest version manually.
- Make sure that the driver version you download is compatible with your graphics driver.
- After downloading the driver, close all other programs including anti-virus programs (temporarily disable them) as they may interfere with the Nvidia driver installation process.
- Save the driver on your desktop only. Do not save it anywhere other than the desktop, and run it as administrator.
- The following window will appear, click Run.
- Then select the destination and click OK.
- Accept the conditions by clicking on the “Accept and continue” button.
- Now select the “Custom” option in the installation options and click “Next”.
- You will then be presented with a list of components that you can choose according to your needs. Activate the “Perform a clean installation” option.
- After completing the entire process, click on the “Restart Now” button.
- Now check to see if the problem is resolved or not.
Expert Tip: This repair tool scans the repositories and replaces corrupt or missing files if none of these methods have worked. It works well in most cases where the problem is due to system corruption. This tool will also optimize your system to maximize performance. It can be downloaded by Clicking Here
Frequently Asked Questions
How do I fix the Nvidia installer error?
- Make sure NVIDIA Windows services are not running.
- After stopping all services, make sure no instances of NVIDIA applications are running.
- Make sure the following registry keys have been removed, if present.
- Now try running the installation again.
How do I manually download Nvidia drivers?
- Open the Nvidia website in your browser.
- In the navigation menu at the top of the web page, click on "Drivers" and then on "GeForce Drivers".
- Under "Automatic Driver Updates," click "Download Now" to download the GeForce Experience.
How do I reinstall Nvidia drivers?
- Open the "Uninstall Programs" or "Add and Remove Programs" option, depending on your version of Windows.
- Uninstall the Nvidia 3D Vision controller and driver.
- Download and install the driver from Nvidia.
- Select Run a clean install.
- Select Advanced installation.
How do I fix an NVIDIA installer error in Windows 10?
- Go to Task Manager. On the Processes tab, stop all NVIDIA tasks.
- Reboot the system and then reinstall the driver. Be sure to select the "Custom" option and enable the "Perform a clean installation" option when installing the driver.
