Updated April 2024: Stop getting error messages and slow down your system with our optimization tool. Get it now at this link
- Download and install the repair tool here.
- Let it scan your computer.
- The tool will then repair your computer.
The “Reset this PC” feature is a valid Windows PC feature that allows users to reset a computer to its default settings if it is not working properly. However, this process does not always work correctly; it may happen that resetting the PC gets stuck at some point. Please don’t panic, try to find out the cause of this error and then fix it with appropriate solutions.
What does ‘resetting this pc’ stuck error mean?
Windows 10 users always perform a PC reset when they encounter problems with their computer or when it just slows down for no apparent reason. A reset allows you to reinstall the operating system without using installation media. However, sometimes a ‘resetting this PC’ gets stuck at a certain percentage and there is no way out.
This is similar to the boot screen since you cannot access the system in both cases. There is no particular reason for this problem; it could be a temporary glitch or a problem with the BIOS settings. Regardless of the cause, the factory reset process can easily be bypassed using some workarounds.
What causes a computer to get stuck at ‘resetting this pc’?

There are several factors that can cause this problem. Here are the factors that can trigger this problem:
- Damaged memory: If the memory is corrupt, it can cause these problems.
- Damaged system files: Sometimes corrupted system files can also cause a “resetting this pc” error.
- Internet connection problems: Some users report that connecting to the Internet during a reset may cause a “resetting this pc” problem.
- Damaged Windows operating system: Damaged Windows can cause this type of problem, and only reinstalling Windows can solve the problem.
How to solve the “resetting this pc” problem
Run a system restore
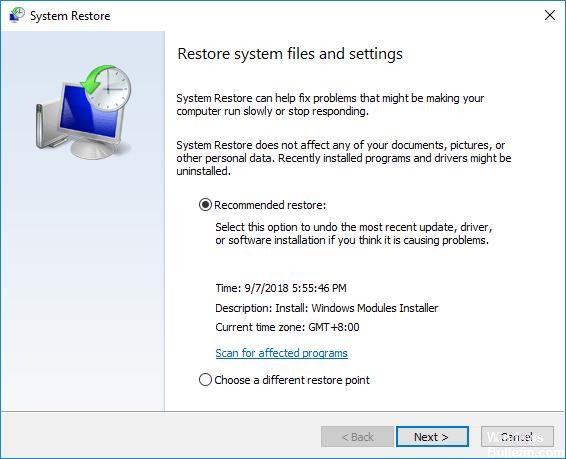
- Open Start and type in ‘System Restore’. Click on the first result that comes up.
- On the System Restore window that pops up, click on the ‘Create a restore point’ button on the right side.
- Give your restore point a name and click ‘Create’. Wait for the process to finish.
- Once the restore point is created, click on the ‘System Restore’ button.
- Select your restore point and click ‘Next’. Confirm your selection by clicking ‘Finish’.
- Your computer will now restart and begin the restore process. Once it’s finished, you should be able to use Windows 10 without any issues.
Perform an SFC scan

A system file checker is a handy tool that can be used to scan for and repair corrupt files on your Windows 10 computer.
- To use the SFC scan, open the Command Prompt as an administrator.
- In the Command Prompt, type “sfc /scannow” and press Enter.
- The scan will take some time to complete, and you may see some on-screen activity as it progresses.
- Once the scan is finished, you’ll see a message indicating whether or not any problems were found.
- If no problems were found, then you can rest assured that your system is healthy.
- However, if problems were found, then you’ll need to take additional steps to fix them.
- For more information on how to use the SFC scan, consult the Windows help documentation.
April 2024 Update:
You can now prevent PC problems by using this tool, such as protecting you against file loss and malware. Additionally it is a great way to optimize your computer for maximum performance. The program fixes common errors that might occur on Windows systems with ease - no need for hours of troubleshooting when you have the perfect solution at your fingertips:
- Step 1 : Download PC Repair & Optimizer Tool (Windows 10, 8, 7, XP, Vista – Microsoft Gold Certified).
- Step 2 : Click “Start Scan” to find Windows registry issues that could be causing PC problems.
- Step 3 : Click “Repair All” to fix all issues.

Launch the DISM tool
The DISM tool is a powerful utility that can be used to repair or update Windows 10.
- Open the Command Prompt as an administrator. You can do this by searching for “Command Prompt” in the Start menu, and then right-clicking on the result and selecting “Run as administrator.”
- Type DISM.exe /Online /Cleanup-image /Restorehealth and press Enter. This will scan your system for errors and attempt to fix them.
- Wait for the process to complete. This can take anywhere from a few minutes to a couple of hours, depending on the severity of the errors.
- Once the process is finished, type Exit and press Enter to close the Command Prompt window.
- Restart your computer and check to see if the issue has been resolved. If not, you can try running the DISM tool again with the /ScanHealth switch instead of /Restorehealth. This will perform a more thorough scan of your system, but it will also take longer to complete.
Perform recovery after startup
- Go to the Windows 10 Recovery Environment.
- Type in ‘Startup Repair’ and hit enter.
- Follow the on-screen instructions.
- Wait for Startup Repair to scan your PC for issues.
- Select the operating system you want to repair and hit enter.
- Startup Repair will now start fixing any problems it finds with your PC.
- Once it’s finished, restart your PC and check if the issue is resolved.
Initiate a chkdsk scan
- Right-click the Start button.
- Select Command Prompt from the menu. If you don’t see Command Prompt, you may need to select PowerShell or another option.
- Type chkdsk C: /f /r /x and press Enter.
- You’ll see a message that indicates the drive is locked and Windows can’t run the scan right now.
- Type Y and press Enter to schedule a scan the next time you restart your computer.
- Restart your computer to run the scan.
Expert Tip: This repair tool scans the repositories and replaces corrupt or missing files if none of these methods have worked. It works well in most cases where the problem is due to system corruption. This tool will also optimize your system to maximize performance. It can be downloaded by Clicking Here
Frequently Asked Questions
How long should resetting this PC take?
There's no simple solution to that. Depending on the operating system you have installed, your processor speed, RAM, and whether you have an HDD or an SSD hard drive, the whole process of factory resetting your laptop can take anywhere from 30 minutes to three hours. It's possible in some extreme circumstances to ruin your whole day.
Can I interrupt PC reset?
System Restore should not be stopped once it has begun, according to Windows, since stopping it might severely disrupt the return of your system files and Windows Registry. Interrupting this process can thus result in a damaged computer.
Why is it taking forever for my computer to reset?
If your computer restarting takes a long time, try the following fixes: Update your Windows operating system and all of its programs, including the device drivers. Repair in a clean boot state. Run the Performance/Maintenance troubleshooters.
