Updated April 2024: Stop getting error messages and slow down your system with our optimization tool. Get it now at this link
- Download and install the repair tool here.
- Let it scan your computer.
- The tool will then repair your computer.
If something doesn’t work on Windows 10, running a troubleshooter can help. Convenience stores can find and solve many common problems for you.
From Windows 10 Build 17704 onwards, you can keep your device healthy by automatically applying the recommended troubleshooting procedure to known problems.
Starting with Windows 10 Build 18305, the recommended troubleshooting is now fully functional. You can see our recommended patches while we test this feature. These tests, marked as “Recommended Exemplary Troubleshooting”, are safe to use and will not result in any modifications to your device. The tests ensure that the function works as intended and give you the opportunity to provide us with your comments so that we can help you to use your device optimally.
In this tutorial, you will learn how to enable or disable the automatic application of the recommended troubleshooting for problems known to all Windows 10 users.
The recommended troubleshooting function can handle error logs that are sent back to the Microsoft team and use an algorithm to implement a solution for you, and it is nothing more than diagnostic and feedback data that Windows collects and sends to Microsoft. In addition, the recommendations are only visible when you are connected to the Internet, otherwise the same message is displayed.
Here is how the recommended troubleshooting works under Windows 10
The feature allows you to view the error logs returned to the Microsoft team and use an algorithm to implement a solution for you. It is nothing more than diagnostic and feedback data that Windows collects and sends back to the Microsoft team. The settings are available under Settings > Privacy > Diagnostics & Feedback.
The recommendations are only visible when you are connected to the Internet. Otherwise, a warning will be issued.

To activate Windows 10 Recommended Troubleshooting
Windows 10 automatically makes all the critical corrections it detects, but if the recommended correction is enabled, users can let their PC make the non-critical changes itself.
- Click on the Quick Start icon or press the Windows button to access the Start menu.
- Click on the gearwheel key combination Settings.
- Go to Privacy>Diagnosis and Feedback>Recommended Troubleshooting.
- Move the Recommended Troubleshooting slider to On.
To enable or disable the recommended automatic troubleshooting on Windows 10
April 2024 Update:
You can now prevent PC problems by using this tool, such as protecting you against file loss and malware. Additionally it is a great way to optimize your computer for maximum performance. The program fixes common errors that might occur on Windows systems with ease - no need for hours of troubleshooting when you have the perfect solution at your fingertips:
- Step 1 : Download PC Repair & Optimizer Tool (Windows 10, 8, 7, XP, Vista – Microsoft Gold Certified).
- Step 2 : Click “Start Scan” to find Windows registry issues that could be causing PC problems.
- Step 3 : Click “Repair All” to fix all issues.

To disable the recommended automatic troubleshooting on Windows 10, do the following.
- Open the Settings application.
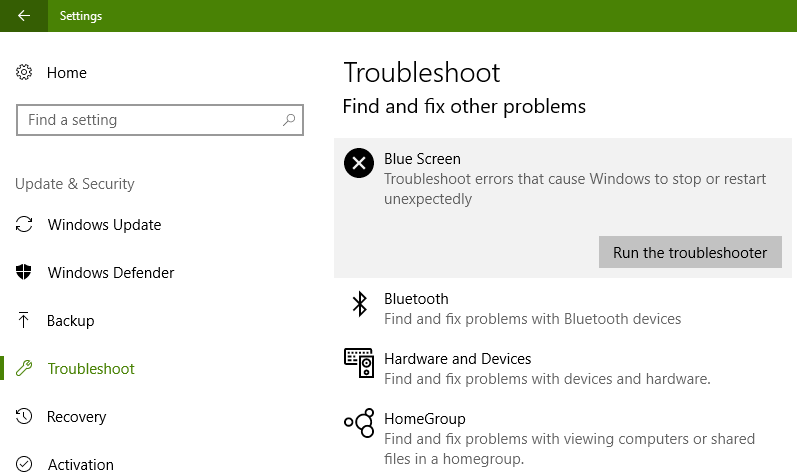
- Go to Update and Security -> Troubleshooting.
- Disable the Recommended Troubleshooting option on the right. It is enabled by default.
- The recommended automatic troubleshooting is now disabled.
Alternatively, you can use a registry setting to enable or disable this feature.

Disable the recommended troubleshooting with a register setting.
Open the Application Registry Editor.
Go to the next registry key.
HKEY_LOCAL_MACHINE\LE SOFTWARE\Microsoft\WindowsMitigation
- Learn how to get a registration key with just one click.
- Modify or create a new 32-bit UserPreference DWORD value on the right.
Note: Even if you are using 64-bit Windows, you must still create a 32-bit DWORD value. - Supported values: 1 – enabled, 3 – disabled.
- To make the changes made by the registry setting effective, restart Windows 10.
http://avid.force.com/pkb/articles/troubleshooting/Windows-10-Guide
Expert Tip: This repair tool scans the repositories and replaces corrupt or missing files if none of these methods have worked. It works well in most cases where the problem is due to system corruption. This tool will also optimize your system to maximize performance. It can be downloaded by Clicking Here

CCNA, Web Developer, PC Troubleshooter
I am a computer enthusiast and a practicing IT Professional. I have years of experience behind me in computer programming, hardware troubleshooting and repair. I specialise in Web Development and Database Design. I also have a CCNA certification for Network Design and Troubleshooting.