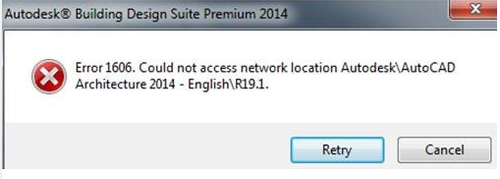
When trying to install or uninstall the software, the following error message appears: Error 1606: Could Not Access Network Location.
This problem may occur if an incorrect parameter is specified in one of the following registry subsections:
- HKEY_CURRENT_USER \ Software \ Microsoft \ Windows \ CurrentVersion \ Explorer \ User shell folder
- HKEY_LOCAL_MACHINE \ Software \ Microsoft \ Windows \ CurrentVersion \ Explorer \ User shell folder
Automatically fix this problem
To solve this problem automatically, click the Remove this problem link. In the “File Upload” dialog box click “Run” and follow the instructions of the Recovery Wizard.
Run the program compatibility fix
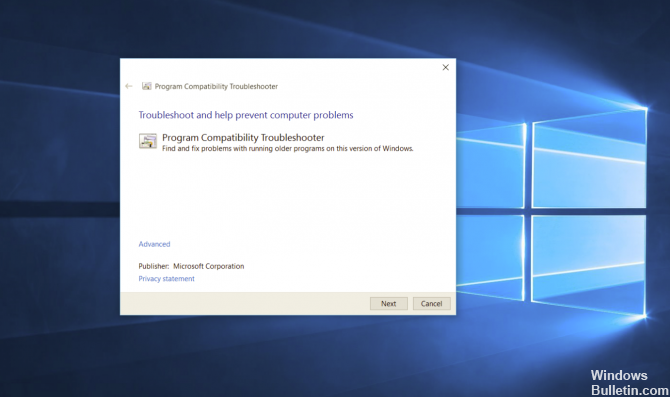
If you are looking for a simple solution, you can fix the 1606 error code (Unable to access the network location) by running the Compatibility Troubleshooter and following the recommended solution.
Several affected users confirmed that this process eventually allowed them to complete the installation of the program which had previously ended with this error.
This method uses a built-in fixing tool available through the classic control panel user interface. You can access and use it whether you are using Windows 7, Windows 8.1 or Windows 10.
Try to remove the wrong registry entries.

This problem may occur if an incorrect registry entry is specified in one of the following registry subsections:
April 2024 Update:
You can now prevent PC problems by using this tool, such as protecting you against file loss and malware. Additionally it is a great way to optimize your computer for maximum performance. The program fixes common errors that might occur on Windows systems with ease - no need for hours of troubleshooting when you have the perfect solution at your fingertips:
- Step 1 : Download PC Repair & Optimizer Tool (Windows 10, 8, 7, XP, Vista – Microsoft Gold Certified).
- Step 2 : Click “Start Scan” to find Windows registry issues that could be causing PC problems.
- Step 3 : Click “Repair All” to fix all issues.

- Press the Windows + R key, type “regedit” and press Enter.
- Go to the following places.
- HKEY_CURRENT_USER \ Software \ Microsoft \ Windows \ CurrentVersion \ Explorer \ User shell folder
- HKEY_LOCAL_MACHINE \ Software \ Microsoft \ Windows \ CurrentVersion \ Explorer \ User shell folder
- Delete entries indicating the path indicated in the error message.
Registry disclaimer: this section, method or task contains steps that will teach you how to edit the registry. However, if you change the registry incorrectly, serious problems may occur. So be sure to follow these steps carefully. For additional protection, make a backup copy of the registry before modifying it. You can then restore the registry if you have any problems.
Register Windows update DLL again.

Try to register the Windows Update Center DLL again using the following commands:
- Click the Start button, select the Run command, type cmd and click OK.
- Enter the following commands. Press ENTER after each command.
- regsvr32 wuapi.dll
- regsvr32 wuaueng.dll
- regsvr32 wuaueng1.dll
- regsvr32 wucltui.dll
- regsvr32 wups.dll
- regsvr32 wups2.dll
- regsvr32 wuweb.dll
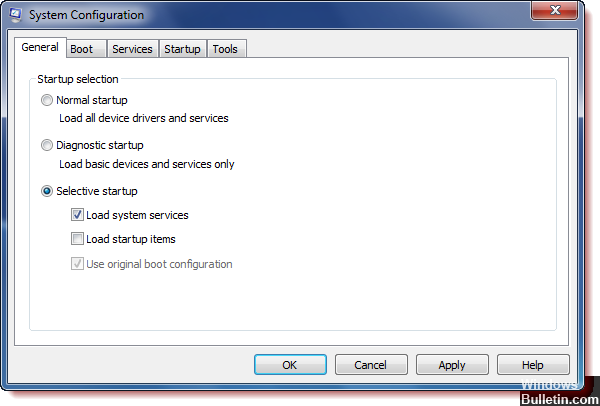
Perform a clean boot
At first, these steps may seem complicated, but if you follow them one by one, you will be back on the right path.
- Log in as administrator. If you do not have an administrator account, you can create one. Create a local user or an administrator account in Windows 10.
- Type msconfig in the search field in the taskbar and select System Configuration from the results.
- Important: If your computer is connected to a network, the network policy settings may prevent you from doing this. Use the System Configuration utility only to change additional boot settings on your computer under the guidance of a Microsoft Product Support Engineer. Using the System Setup utility may disable your computer.
- On the Services tab, under System Configuration, select “Hide all Microsoft services” and then select “Disable all”.
- On the Autoload tab of the System Configuration program, select Open Task Manager.
- In the “Auto Download” section of the Task Manager, select an element for each autoload, and then select “Disable”.
- Close the task manager.
- On the “Main” tab of the system setup program, click “OK”. When you reboot your computer, it is in a clean boot environment.

CCNA, Web Developer, PC Troubleshooter
I am a computer enthusiast and a practicing IT Professional. I have years of experience behind me in computer programming, hardware troubleshooting and repair. I specialise in Web Development and Database Design. I also have a CCNA certification for Network Design and Troubleshooting.