Updated April 2024: Stop getting error messages and slow down your system with our optimization tool. Get it now at this link
- Download and install the repair tool here.
- Let it scan your computer.
- The tool will then repair your computer.
Recently, many Windows users have reported that they faced a problem opening Logitech Gaming software.
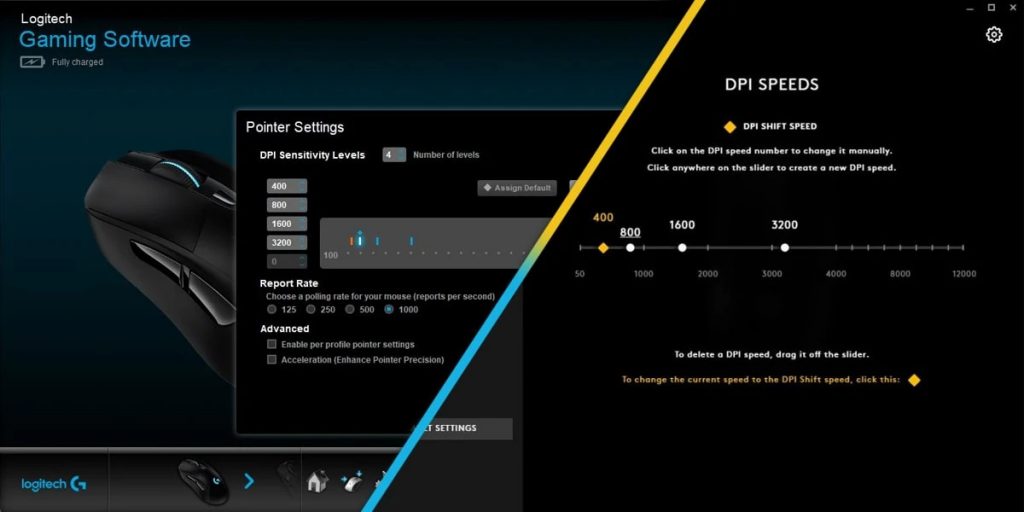
Logitech Gaming Software is an application that lets you customize Logitech gaming peripherals such as mice, keyboards, and gaming headsets. Some Windows users, however, have been having problems lately. Many users report that they can’t open Logitech Gaming software on their PC.
After analyzing several articles on how to fix a problem with Logitech gaming software, here are some effective solutions that can help you solve the problem.
Let’s look at these best solutions in order.
Restart the Logitech process
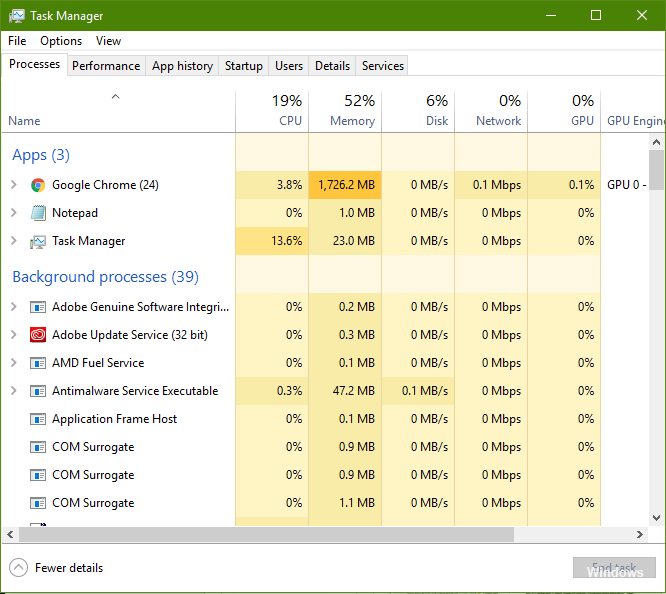
Restarting the Logitech process after performing this task in Task Manager may solve the problem. Also, disable this program at startup if the problem occurs again. The instructions are provided below.
April 2024 Update:
You can now prevent PC problems by using this tool, such as protecting you against file loss and malware. Additionally it is a great way to optimize your computer for maximum performance. The program fixes common errors that might occur on Windows systems with ease - no need for hours of troubleshooting when you have the perfect solution at your fingertips:
- Step 1 : Download PC Repair & Optimizer Tool (Windows 10, 8, 7, XP, Vista – Microsoft Gold Certified).
- Step 2 : Click “Start Scan” to find Windows registry issues that could be causing PC problems.
- Step 3 : Click “Repair All” to fix all issues.

- Simultaneously press the Ctrl, Alt and Delete keys.
- Select “Task Manager” from the list of displayed items.
- If the process names are not displayed, click “Details” in the bottom left corner.
- On the “Processes” tab, find Logitech Gaming.
- Click on that name.
- Click the “Complete task” button below.
- Check to see if the problem has been solved.
- If the problem persists, uncheck the Logitech Gaming checkbox on the Auto Download tab of Task Manager. To do so, click Logitech Gaming on the Home tab and then click the Disable button below.
Allow the application through the Windows Firewall

One of the reasons Logitech gaming software doesn’t open is because the Windows Firewall blocks certain application functions. Windows Firewall Protector is designed to protect your system. Sometimes the program is too strict for applications. So you can solve the problem by giving Logitech game software permissions.
- Type Windows Firewall Defender in the search box and press Enter.
- Click Allow application or feature through the Windows Firewall Defender.
- Click “Change Settings” and review the Logitech Gaming Software.
- After clicking OK. Reboot your computer and restart the application.
Run as administrator
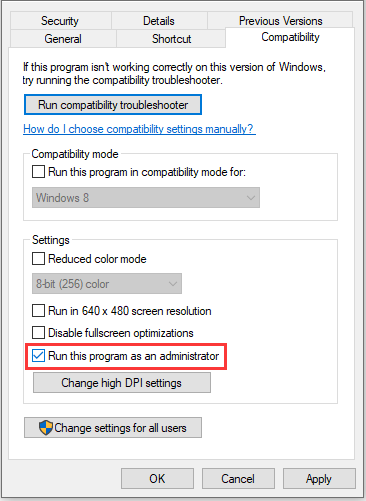
Make sure the Logitech Gaming Program opens when you log on as another administrator. If it works, the problem is that the program has no administrator rights. Logitech Gaming requires administrator rights to start. If you are not granted administrator rights, follow these steps to solve the problem.
- Browse to the Logitech Gaming program folder, which is typically Logitech Gaming C: Program Files (x86).
- Find the program file (EXE file).
- Right-click the program file name.
- Select Properties.
- Click on the Compatibility tab.
- Select the “Run this program as administrator” checkbox.
- Click OK “.
- Check to see if this fixes an issue that prevents Logitech Gaming Program from opening in Windows.
Run this program in compatibility mode
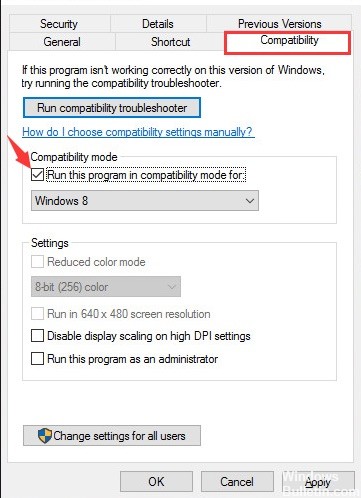
If the software is not compatible with your installed versions of Windows, you may have trouble opening Logitech Gaming software. You may want to try running this program in compatibility mode to solve the problem.
Step 1: Right-click the Logitech Gaming Software icon on your desktop, then select “Properties” from the pop-up window.
Step 2: In the window that pops up, click the Compatibility tab and select the “Run this program in compatibility mode for” checkbox.
Step 3: Click the arrow on the drop-down menu and select Windows 8.
Step 4: Click Apply and OK to allow the change.
Update your drivers
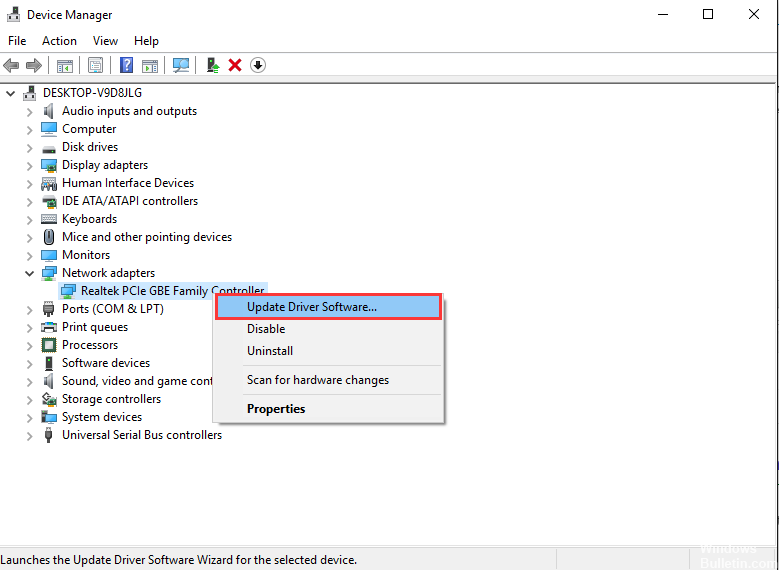
Updating device drivers is important for your devices. Indeed, with the latest driver versions, your devices will offer a better user interface, so you can take full advantage of your devices.
Expert Tip: This repair tool scans the repositories and replaces corrupt or missing files if none of these methods have worked. It works well in most cases where the problem is due to system corruption. This tool will also optimize your system to maximize performance. It can be downloaded by Clicking Here

CCNA, Web Developer, PC Troubleshooter
I am a computer enthusiast and a practicing IT Professional. I have years of experience behind me in computer programming, hardware troubleshooting and repair. I specialise in Web Development and Database Design. I also have a CCNA certification for Network Design and Troubleshooting.