Updated April 2024: Stop getting error messages and slow down your system with our optimization tool. Get it now at this link
Those of you who use Windows 10 probably know that Microsoft is trying to build several tools into the operating system so that users no longer need third-party apps. These include the scan tool, useful for scanning documents and images, which can be downloaded from the Microsoft App Store.
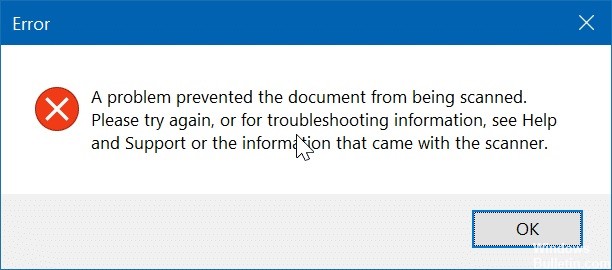
However, some users have reported problems when using this tool. They claim that they sometimes get the error message “Problem prevented the scanning of the document.” If you too are getting this error message, try following this step-by-step guide that we have prepared for you and you will be able to scan documents in no time.
What causes the error message “The problem didn’t allow you to scan the document”?

- General fault
- System file corruption
- Not enough permissions
- Bad USB cable connection
- A damaged OEM scanning application
How to solve the “Problem did not allow scanning a document” problem?
You can now prevent PC problems by using this tool, such as protecting you against file loss and malware. Additionally it is a great way to optimize your computer for maximum performance.
The program fixes common errors that might occur on Windows systems with ease - no need for hours of troubleshooting when you have the perfect solution at your fingertips:
April 2024 Update:

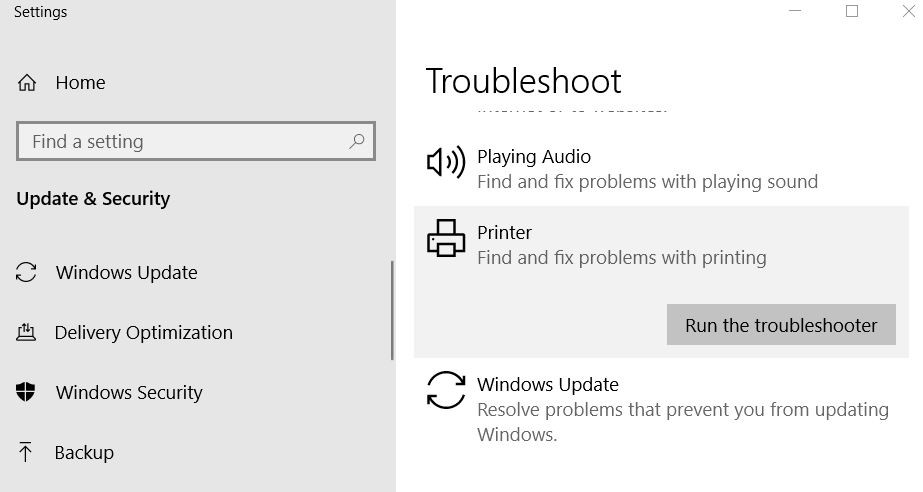
Perform printer troubleshooting
- Click the Start button, then click Settings to open the Settings page.
- On the Settings page, select Update and security.
- In the left pane, click Troubleshooting, and then click Advanced Troubleshooting.
- Click Printer, and then click Perform Troubleshooting.
- Wait for the first check to complete. Then click Apply this fix.
- After applying the fix, restart your computer to see if the problem is resolved.
Reinstall the printer driver
- Go to the device manufacturer’s website and download the latest driver.
- Press Win + X on your keyboard and select Device Manager.
- Double-click on the print queue. Then right-click on the problem device and select Uninstall.
- You should now reinstall the previously downloaded driver.
- After reinstalling the driver, you should add your printer or scanner.
- Your printer is now ready to go, and you can try scanning.
Removing and re-adding a printer
- Open Settings, then click on Devices.
- Select Printers and scanners. Click the device with which you are having problems, then click Remove Device.
- On the same page, click Add printer or scanner. When the printer is detected, click Add device.
- Once the device has been successfully added, you can try scanning your documents.
Expert Tip: This repair tool scans the repositories and replaces corrupt or missing files if none of these methods have worked. It works well in most cases where the problem is due to system corruption. This tool will also optimize your system to maximize performance. It can be downloaded by Clicking Here
Frequently Asked Questions
How do I fix the scanner on my computer?
- Hold down the Windows logo while pressing the R key to display the startup window.
- Type cmd and click OK.
- When the command prompt opens, type sfc /scannow and press the Enter key.
Why does my scanner stop working?
Make sure that the cable between the scanner and your computer is securely connected at both ends. If possible, switch to another cable to see if there is a problem with the existing cable. You can also switch to another USB port on the computer to see if a faulty connection is the cause.
How do I solve the “Document could not be scanned” problem?
- Turn off and on the scanner or printer again.
- Uninstall the scanner or printer and then add it to Windows 10.
- Use the scanner app or OEM app instead.
- Reinstall the printer driver.
How do I fix scanner problems in Windows 10?
- Check the compatibility mode.
- Check Windows services.
- Perform hardware troubleshooting.
- Update the scanner drivers.
