Updated April 2024: Stop getting error messages and slow down your system with our optimization tool. Get it now at this link
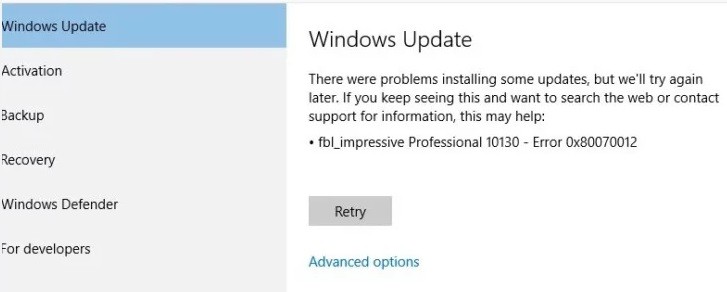
Windows updates are essential for Windows 10 systems, especially because they deliver security updates to your computer. However, sometimes users encounter the Windows Update 0x80070012 error when trying to update Windows 10. In such a situation, you should read this article to find a solution.
What causes Windows Update 0x80070012?

- Disability Services.
- Faulty software installed
- Hardware or driver conflicts
- A corrupted update has been downloaded.
How to resolve the problem with Windows Update 0x80070012?
You can now prevent PC problems by using this tool, such as protecting you against file loss and malware. Additionally it is a great way to optimize your computer for maximum performance.
The program fixes common errors that might occur on Windows systems with ease - no need for hours of troubleshooting when you have the perfect solution at your fingertips:
April 2024 Update:

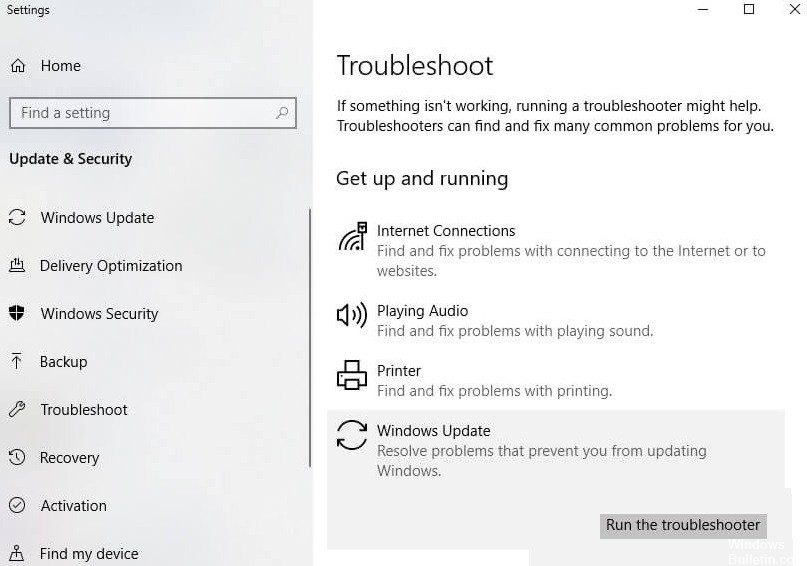
Launch the Windows Update troubleshooter
- Run the Run utility by pressing Windows + R.
- Type ms-settings:troubleshoot in the text box and press Enter. The Windows Update troubleshooting screen opens.ms-settings troubleshoot
- Now go to the troubleshooting screen. Scroll down the list of suggestions and click on Windows Update.
- Select Run Troubleshooting.ms-settings troubleshooting
- Wait for the troubleshooting tool to find any possible problems with the Windows Update utility.
- Once the tool completes its analysis, click Apply and fix.
- Finally, wait for the process to complete.
- Then reboot your computer.
Running Windows Update on reboot
- Type “MSConfig” (without the quotes) in the search box on the taskbar and press Enter to open the System Configuration window.
- On the General tab, type Selective startup and uncheck Load startup items.
- Make sure the Load system services and Use original boot configuration checkboxes remain selected.
- Now go to the Services tab and check the Hide all Microsoft services checkbox, and then click Disable all.
- Before you restart your computer, click Apply, and then click OK.
- The next time you restart Windows, it will boot in a clean startup state.
Downloading and installing the update manually
- Go to the official Microsoft Update Catalog website.
- Enter the update code in the search box.
- A list of all suitable updates will be displayed. Find the most up-to-date update that is compatible with your system architecture.
- Click the download button next to it.
- Then run the installation file and follow the instructions of the installation wizard.
- Reboot your computer to resolve the issue.
Using System Restore
- Press any key to boot from the installation media.
- On the first installation screen, click Restore Computer to open the Advanced Options menu.
- Then select System Restore to open the utility.
- Select the Show other restore points checkbox.
- Then select the point you created just before the problem occurred. Select the desired restore point, then click Next to continue.
- Click Finish and wait for the process to complete and for the system to be restored to the selected restore point.
- Reboot your system and see if the problem persists.
Expert Tip: This repair tool scans the repositories and replaces corrupt or missing files if none of these methods have worked. It works well in most cases where the problem is due to system corruption. This tool will also optimize your system to maximize performance. It can be downloaded by Clicking Here
Frequently Asked Questions
How do I fix corrupted Windows updates in Windows 10?
- Rename the SoftwareDistribution folder.
- Try running Windows Update to fix the problem.
- Perform SFC and DISM checks on your computer.
- Reboot your computer.
How do I fix Windows Update?
- Open Settings -> Update and Security.
- Click Troubleshooting.
- Click on "Advanced Troubleshooting", select the "Windows Update" option and click on "Run Troubleshooting".
- You can then close the troubleshooter and check for updates.
What should I do if Windows 10 won’t update?
- Manually check for updates and install them.
- Launch the Windows Update troubleshooter.
- Use the update wizard on the Microsoft website.
- Turn off the security software.
- Make sure that you have not installed a paid connection that limits how much data your computer can use.
