Updated April 2024: Stop getting error messages and slow down your system with our optimization tool. Get it now at this link
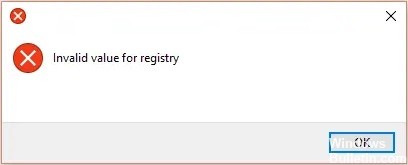
If you’ve ever encountered a situation where you can’t open JPEG images on your Windows system, you may be familiar with the “Invalid registry value” error. This is a standard Windows operating system error that often occurs after upgrading Windows to a newer version.
For example, if you previously used Windows 8 and then upgraded to Windows 10, you may encounter the “Invalid Registry Value” error when opening JPEG images using Windows Photo Viewer.
In this article, we will cover each method to prevent and fix this error in your Windows operating system.
What causes “Invalid Registry Value”?
This error occurs when you update your computer or update your applications in Windows. In this case, registry entries from a previous version may remain intact (in fact, they should be automatically deleted). These old entries conflict with the system process, so you will no longer be able to view photos.
How to eliminate the “Invalid registry value” error message?
You can now prevent PC problems by using this tool, such as protecting you against file loss and malware. Additionally it is a great way to optimize your computer for maximum performance.
The program fixes common errors that might occur on Windows systems with ease - no need for hours of troubleshooting when you have the perfect solution at your fingertips:
April 2024 Update:

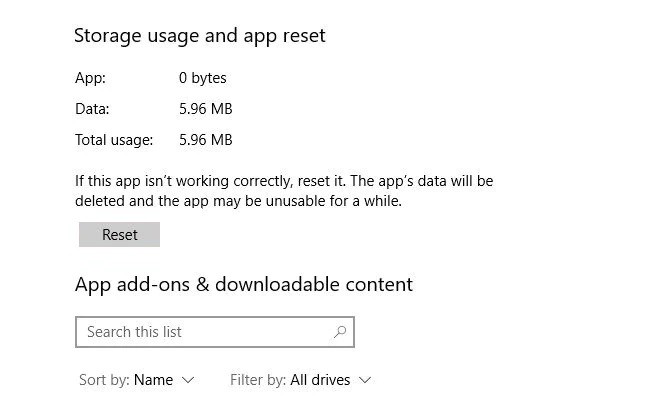
Reset the Photos app
- Right-click in the Start menu and go to Applications and Features.
- Then scroll down to “Photos” and click on it, then on “Advanced Options” and on “Reset” in the next window.
- This will erase all data in the Photos app, including any image presets or saved settings, and restore the original state.
Performing a driver update
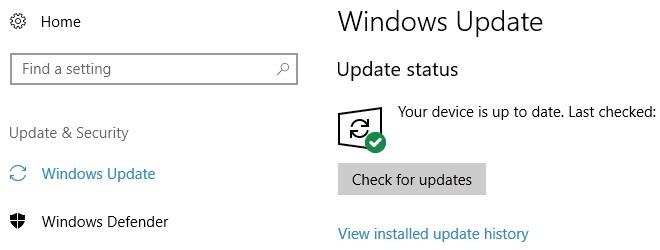
- Open Settings.
- Click Update and security.
- Click Windows Update.
- Click Check for updates.
Updating the Windows photo viewer
- Press the Windows key on your keyboard, then type “Update” in the search box and press Enter.
- Click the Windows Update icon, then click “Check for updates.”
- If the photo viewer icon is displayed after you finish searching for Windows updates, check the box next to it.
- Then click “Install updates” to install Photo Viewer updates.
- If you are prompted to restart your computer, save your work, close all open programs, and then click “Restart”.
Performing an SFC scan

- In the search box, type Command Prompt or cmd.
- Right-click Command Prompt.
- Click Run as administrator.
- In the Command Prompt window, type sfc /scannow and press Enter.
Expert Tip: This repair tool scans the repositories and replaces corrupt or missing files if none of these methods have worked. It works well in most cases where the problem is due to system corruption. This tool will also optimize your system to maximize performance. It can be downloaded by Clicking Here
Frequently Asked Questions
How do I fix the “Invalid value for registry” error message?
- Press the Windows and X keys at the same time, then select Control Panel.
- Click on Troubleshooting.
- Click the Show All option on the left side of the window.
- Click on the System Maintenance option.
- Click Next and follow the instructions on the screen.
How do I eliminate the “Invalid value for registry” message when viewing images?
- Go to Start -> Settings -> System -> Applications and Features. Click on "Microsoft Photos." A box will appear. Select "Advanced Settings."
- Click the "Reset" button. This process may take some time; when it is complete, restart your computer. Check if you have fixed the error.
How to fix registry errors in Windows 10?
- Perform an SFC check.
- Perform a DISM check.
- Perform a system restore.
- Reset your Windows 10 settings.
- Perform automatic boot recovery.
- Perform Windows 10 onsite update recovery.
