Updated April 2024: Stop getting error messages and slow down your system with our optimization tool. Get it now at this link
In this article, you will learn how to fix the 0x800F080C .NET Framework error in Windows 10, which can occur during installation or system setup. The error indicates that the system may have corrupted files or corrupted .NET Framework dependencies. Users who encounter this problem will not be able to install the missing .NET Framework packages and run certain program files on their system.
What causes the 0X800F080C error in Windows 10?

The error that occurs when you install/update the .NET Framework package is due to a corrupted .NET Framework dependencies. The .NET Framework recovery tool can help you get rid of this problem. Also, the .NET Framework has a specific instance that is disabled by default. If it is disabled, error code 0X800F080C is displayed. However, enabling it through the Windows Features screen has solved this problem for many Windows users.
In some cases, corrupt or missing system files also cause this Windows error. This is because some third-party applications that depend on system files do not work correctly. As mentioned earlier, sometimes error code 0X800F080C is also displayed when running some applications. However, this problem can be easily solved with the help of a repair program.
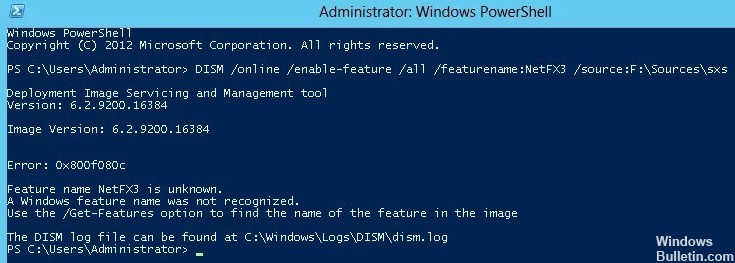
Error code 0x800F080C also occurs when you install a new Windows update. This update is sometimes related to the .NET Framework, but not always.
How to resolve the error 0X800F080C in Windows 10?
You can now prevent PC problems by using this tool, such as protecting you against file loss and malware. Additionally it is a great way to optimize your computer for maximum performance.
The program fixes common errors that might occur on Windows systems with ease - no need for hours of troubleshooting when you have the perfect solution at your fingertips:
April 2024 Update:


Perform a DISM and SFC scan
- Type cmd in the search bar and click Run as administrator to run the extended command prompt.
- In the command prompt window, type the command below and press Enter to run it.
sfc /scannow - After running the command at the command prompt, check to see if the problem has been resolved. If not,
- open the command line again by running step 1.
- Now type the following command at the extended command line and press Enter.
DISM /Online /Cleanup-Image /RestoreHealth
Clean installation of Windows
- Download the Windows 10 Media Creation Tool and run the MediaCreationTool.exe file once the download is complete.
- In the first window that appears on the screen, select Create installation media for another PC and click Next.
- In the next window, select the Use recommended settings for this PC check box and click Next.
- Now select the USB drive or ISO file (for later burning to DVD) and click Next.
- In the next window, select the drive and click Next to continue.
- When the process is complete, click Finish and restart your computer with the DVD or USB flash drive connected.
- Press any key on your keyboard to boot from the USB drive or DVD and follow the on-screen instructions to continue. This is where you need to enter your Windows license key.
- Now check if your computer boots from the USB drive or bootable DVD that you created. If it doesn’t, you need to press a key or key combination to do so. Check the keys with your PC manufacturer.
- In the next window, click on the Edit what to keep hyperlink and select Nothing (recommended). This will erase all the contents of your partitioned drive and reinstall Windows 10 from scratch.
- Click Next and wait for the process to complete.
Run the .NET recovery tool
- Launch the default browser and go to the Microsoft .NET Framework Repair Tool download page.
- Click Download and check the box for NetFxRepairTool.exe on the next page.
- Click Next to continue.
- When the download is complete, click on the downloaded file and confirm the security prompt by clicking Yes.
- Now follow the instructions on the screen to complete the installation process and check the “I have read and accept the license terms and conditions” box.
- Now, wait for the utility to scan your computer for .NET dependencies.
- Then click Next to continue.
- Finally, click Finish and make sure the problem is resolved.
Activating .NET Framework 3.5 using Windows features
- Open the Run dialog box by pressing the Windows + R keys simultaneously.
- Type “appwiz.CPL” in the text box of the dialog box and press Enter. The Programs and Features window opens.
- In the “Programs and Features” window, find the “Enable or Disable Windows Features” entry and click on it.
- In the next window, look for .NET Framework 3.5 (contains .NET 2.0 and 3.0) and check the appropriate box.
- Click OK to save your changes and click Yes at the confirmation prompt.
- Now, wait for the installation to complete. Then restart your computer.
Expert Tip: This repair tool scans the repositories and replaces corrupt or missing files if none of these methods have worked. It works well in most cases where the problem is due to system corruption. This tool will also optimize your system to maximize performance. It can be downloaded by Clicking Here
Frequently Asked Questions
How do I fix the error code in Windows 10?
- Reboot your computer.
- Run SFC and CHKDSK.
- Update Windows 10.
How do I perform a recovery in Windows 10?
- Choose Start -> Settings -> Update and Security -> Troubleshooting or select the Troubleshooting shortcut at the end of this topic.
- Select the type of troubleshooting you want to perform, and then select Run Troubleshooting.
How do I check if Windows 10 is corrupt?
- On your desktop, press Win+X and select Command Prompt (Admin) from the menu.
- Click Yes at the User Account Control (UAC) prompt that appears.
- When the flashing cursor appears, type: SFC /scannow.
- Press Enter.
- The SFC checks the integrity of Windows system files.
