How to Repair Windows Error 0xc00000d

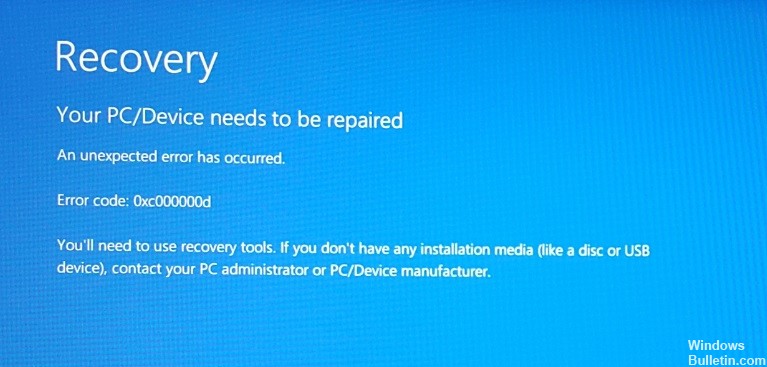
Error 0xc000000d is one of the most common errors that people encounter while trying to run programs on their computers. This error code usually appears when there are problems with the system files. You might have encountered this problem when installing software or updating the operating system. If you want to fix it quickly, follow the instructions given here.

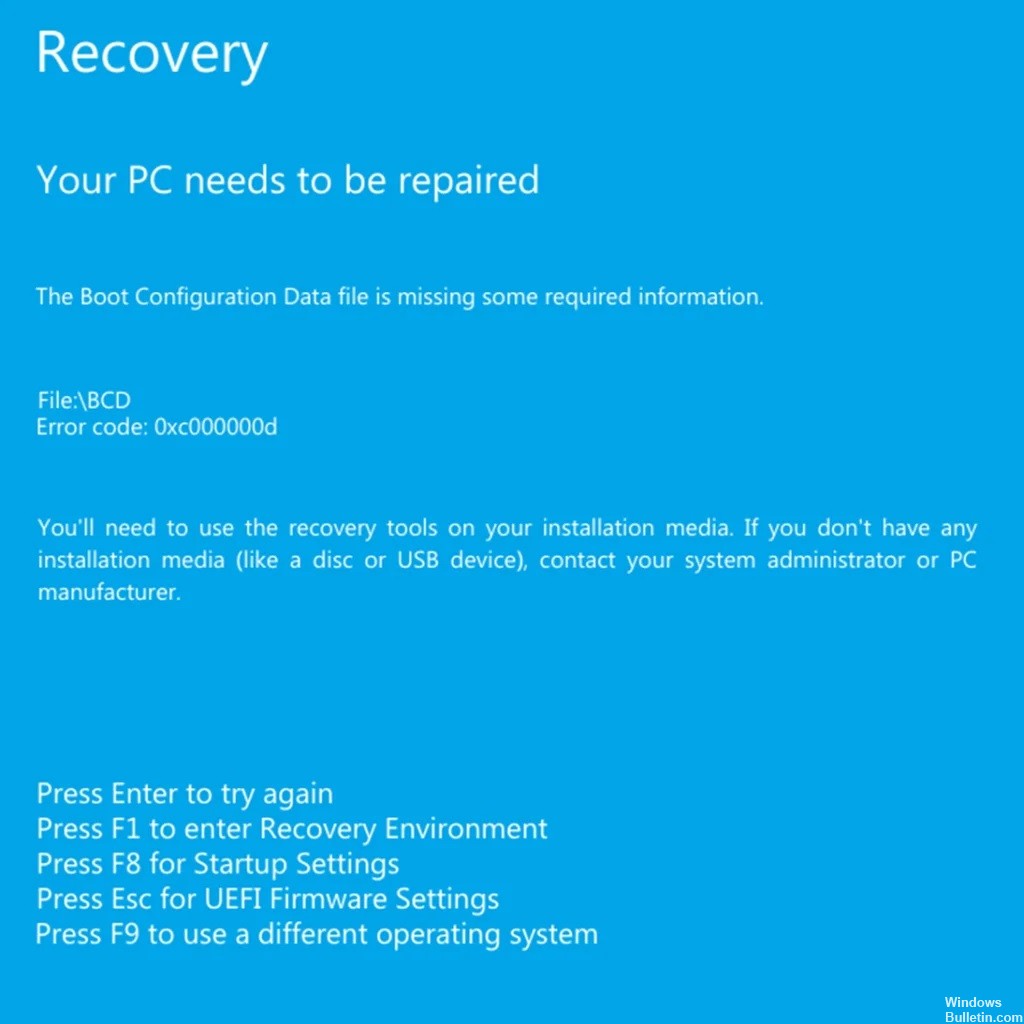
What are the causes of the windows error 0xc00000d

Blue screens occur when Windows encounters a critical error that prevents it from running properly. This could happen due to malware, hardware problems, software conflicts, improper installation, corrupted files, driver issues, etc. In some cases, there might be no apparent cause for the blue screen. read more

Windows 10 Error Code 0xc000000d: How to Fix It

If you’re using Windows 10 and are experiencing the error code 0xc000000d, don’t worry – you’re not alone. This is a common problem that many people are experiencing, but luckily it’s easy to fix. In this blog post, we will walk you through step by step how to fix the error code 0xc000000d. Keep reading for more information!

What is error code 0xc000000d?

This error code 0xcc000000d is also known as a BCD error or boot configuration data error. It is triggered by the Windows operating system when a BCD file is missing or corrupted. The hexadecimal number 0xc000000d is the error code generated by Windows. read more

How to Resolve ‘This PC Can’t Run Windows 11’ Error Message (TPM 2.0 and Secure Boot)

Windows 11 is Microsoft’s first new operating system in nearly six years. As the successor to Windows 10, it offers radical changes to the user interface and many innovative features to support a modern hybrid work environment and improve user productivity.

As for updates, Windows Update will optimize the update mechanism in Windows 11, and the cumulative update package will be 40 percent smaller than in Windows 10. Microsoft also promises to provide free updates to Windows 10 users.

However, not all Windows 10 computers are eligible for the upgrade – you must meet the minimum system requirements of Windows 11, or you’ll get a “This PC cannot run Windows 11” message during installation. read more

How to Resolve Error 0x8004242d – Failed to Format Selected Partition

Error 0x8004242d is usually accompanied by the following error message: “Failed to format selected partition. Error: 0x8004242d” in a pop-up window during Windows installation. As a result, users are unable to format the disk partition and install the platform.

In this article, we will tell you how to solve partition formatting problems with DiskPart.

What causes the error message “Selected partition could not be formatted” (error 0x8004242d)?

  • The computer’s data cable is loose.
  • The installation drive has a corrupted file system error.
  • The drive controller or driver is out of date.
  • Your Windows system is incompatible with the mass storage controller or mass storage driver.
  • The hard disk drive on which you want to install Windows is a dynamic hard disk drive.

How to troubleshoot the error 0x8004242d – Failed to format selected partition?

Clean up the disk using Diskpart

Cleaning the disk with Diskpart can fix error 0x8004242d (but it removes data from the disk).

  1. To do this, open a command prompt by typing cmd in “Run” and press Ctrl + Alt + Enter.
  2. You can also open Command Prompt from the Windows installation window by clicking on Repair Computer -> Troubleshooting -> Command Prompt.
  3. Type diskpart at the command prompt and press Enter.
  4. Type list disk at the command prompt and press Return to display the list of disks.
  5. Type select disk x (replace x with the real disk number) at the command prompt and hit Enter.
  6. Make sure you select the correct disk, as clearing the disk will erase its data.
  7. Type clean all at the command prompt and press Enter.

Formatting a partition during Windows Setup

  1. Start the installation media. Specify your settings and click Install Now.
  2. Click I accept the license terms after reading the Microsoft software license terms.
  3. Then click Next.
  4. Click Custom (Advanced).
  5. Select Disk 0 Partition 1 and Delete.
  6. Then click OK when prompted.
  7. Repeat step 5 to delete partition 2 from disk 0.
  8. Then click New to create a new partition.
  9. Specify the disk size, and then click Apply.
  10. Click OK when prompted.
  11. Select Disk 0 Partition 2, and then click Format.
  12. Click OK when prompted.
  13. The formatting should be successful.
  14. You can click Next to reinstall Windows.

Both of the above methods may seem a bit complicated. Be very careful when using them, as all the actions are instantaneous and you will not be able to go back. read more